Using a Trial Account
Welcome to your trial teacher account with Revision Assistant! Expand the steps below to help you get started in the product. Then check out the rest of our teacher guidance for more tips and tricks and to make the most of your trial.
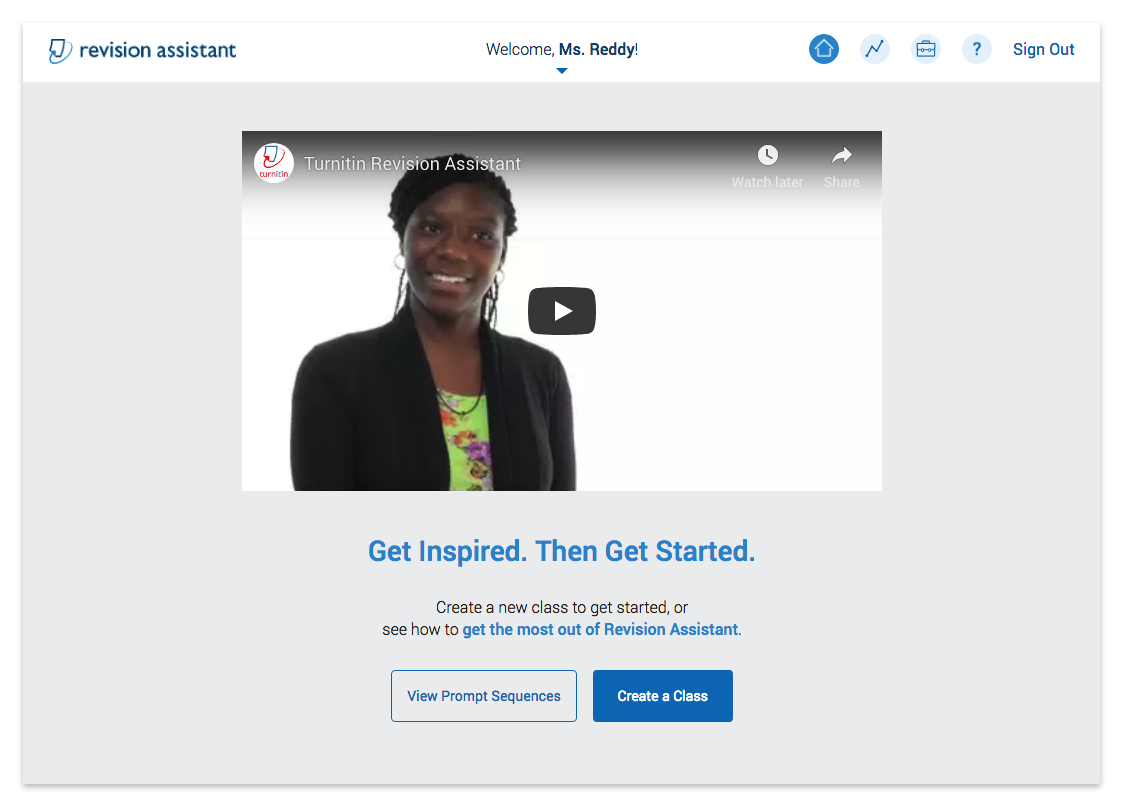
- The first time you log in, you'll be asked to create a display name for yourself that students will see, and you may be asked to enter a new password. Once you're finished, click Enter. Next, you'll be taken to the landing page. Click the Create a Class button on the landing page to get this party started.

- Fill in the class name, grade, subject, and any other information you'd like to include.
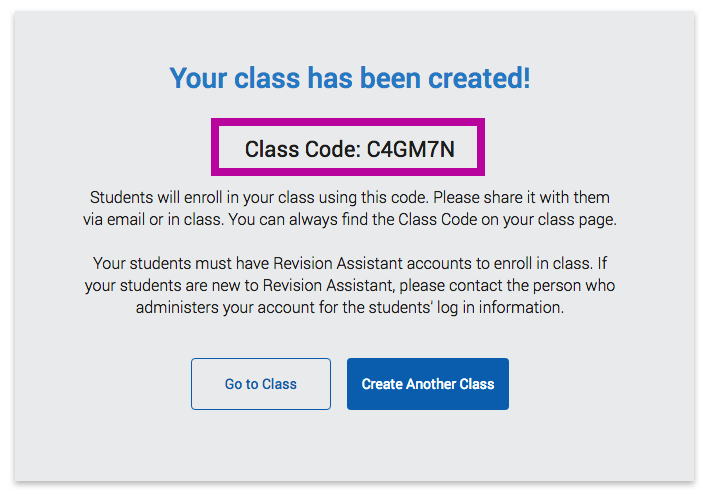
If you have a multi-school account, you will also have a School dropdown and you will need to select the school where you'd like to create the class. Click Continue when you're finished. A 'class creation success' message will come up with the class code for this new class.

- Share this class code with your students any way you like. Students will need this class code to join the class after they log in. The class code will remain the same throughout the existence of the class.
If you need to find your class code later, click the home icon in your header to navigate to your homepage. Your class code will be displayed there next to the class name.
-
From the 'success' message, click Create Another Class to create another class. You can also click Go to Class to go to the roster page for the class you just created.

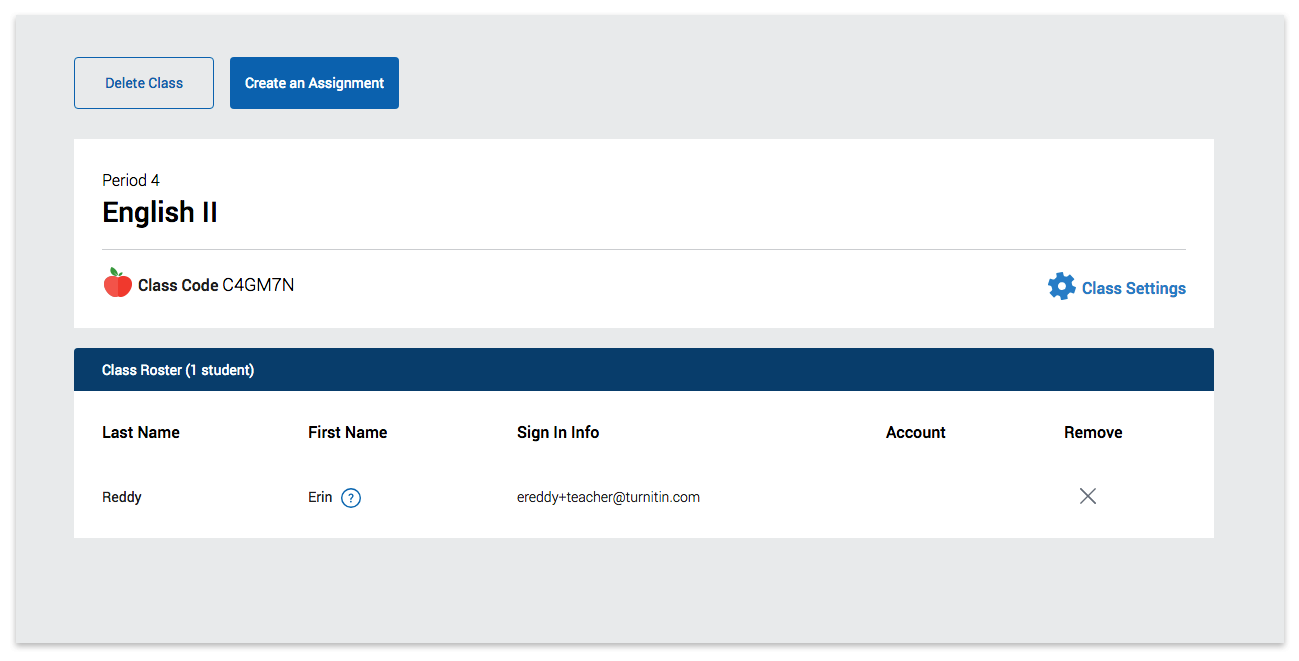
- When student accounts are created, Revision Assistant will automatically add each of your students to the class roster page. Once you've created your first class, you can always create more classes from your homepage by clicking the Create a Class button near the header.
Before your students can get started, you will need to create their accounts. As a teacher using a trial version of Revision Assistant, you'll have some administrator capabilities, including the ability to create students' accounts using our Create Multiple Accounts feature.
To learn how to get your students set up, check out Creating Student and Teacher Accounts with Bulk Upload in the Administrator section of the guides. Just keep in mind that as a trial user, you'll only be able to make student accounts, not teacher accounts.
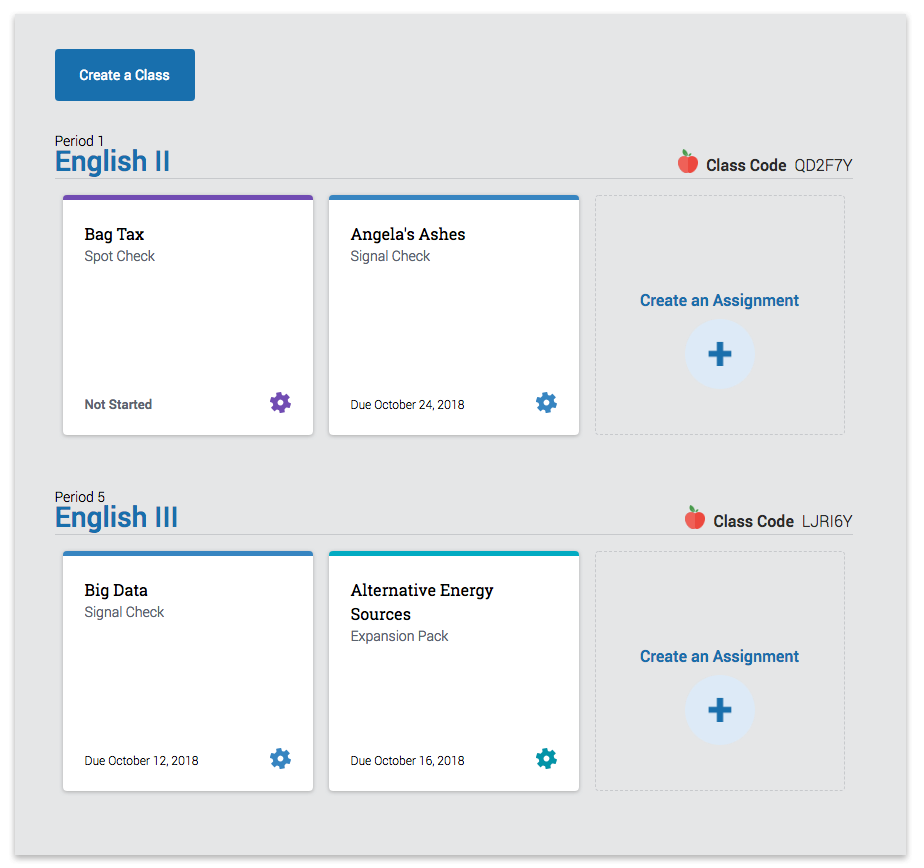
- You will need to create a class before you can create any assignments. Make sure to do that first! Once your class is set up, find it on your homepage. Your homepage is the first page you see when you log in. If you navigate to another page in Revision Assistant, you can always click the house icon in your header to take you to your homepage.
- Under the class name, click Create an Assignment or the plus sign button. This will take you to the prompt library.
- On the prompt library page, you will see color-coded tabs for each type of Revision Assistant assignment:
- Signal Check
- Expansion Pack
- Spot Check
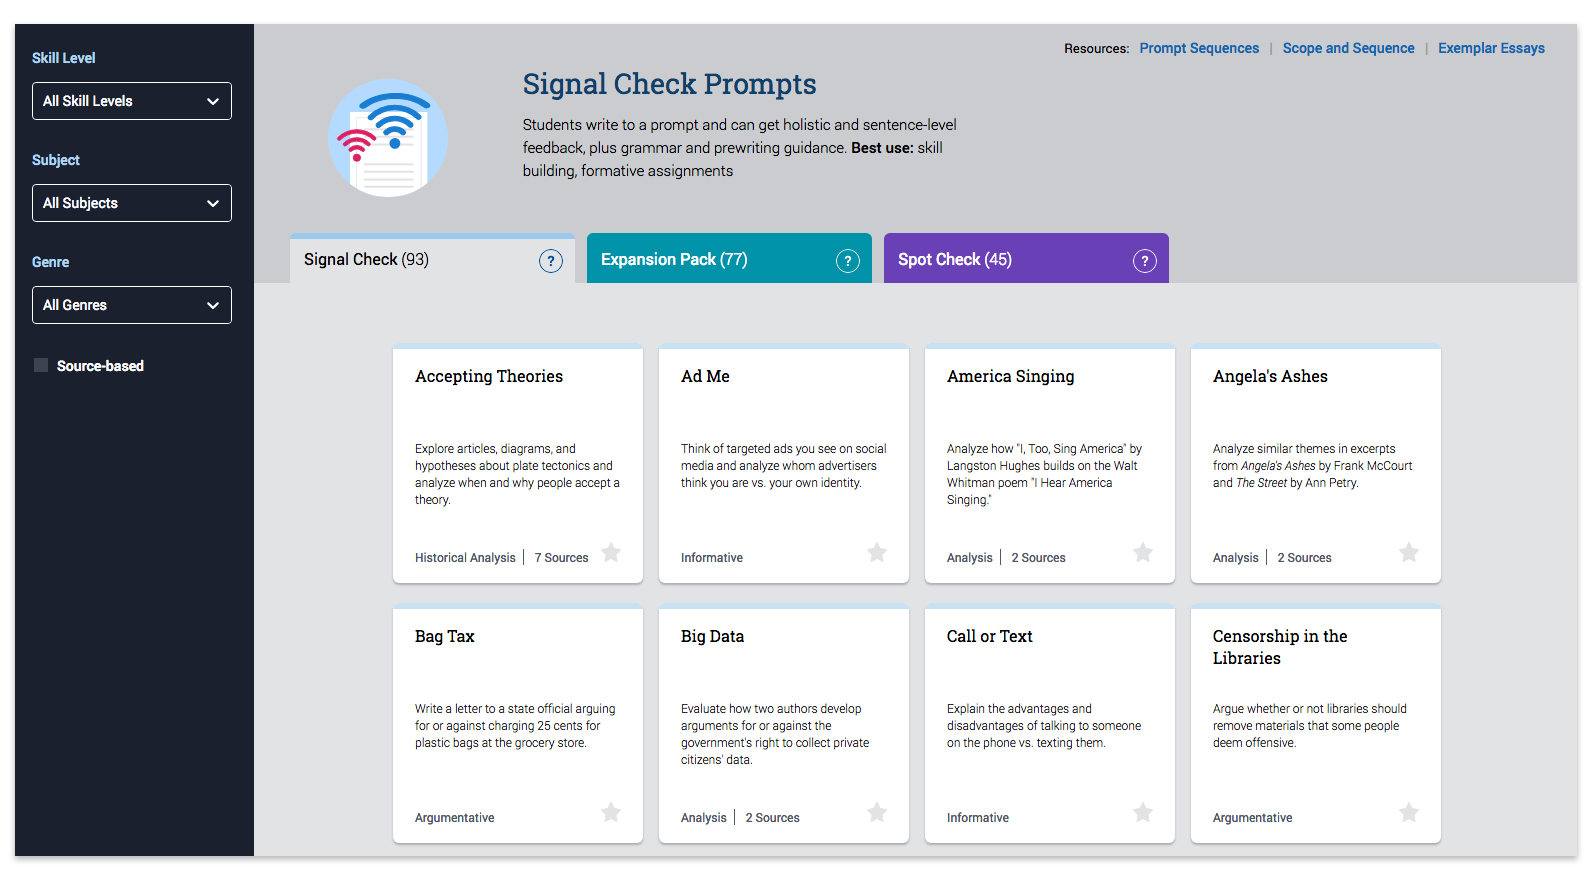
- Click each tab to see the available prompts for that assignment type. Click the question marks on the tabs to learn about the features each assignment type offers. To help you find a prompt more quickly...
- Use the grade, subject, genre, and source filters (left panel)
- Read the short description displayed on each square prompt tile
- Click each prompt tile to see the prompt page, which contains...
- The prompt and any sources students will need to review to write their essay
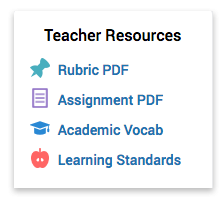
- A downloadable rubric PDF for how student writing will be scored
- A downloadable assignment PDF of the prompt and sources
- A downloadable vocab PDF of terms used in the prompts and instant feedback
- A link to the state and Common Core Learning Standards the prompt strengthens
- When you find a prompt you'd like to assign, add special instructions to students on the prompt page (optional). Then, click the Select Prompt button. The assignment settings window will come up.
- In the assignment settings window, change the name of the assignment (optional). It will be auto-filled with the prompt name. Assign a due date (optional). Click Create Assignment. A success page will come up when your assignment has been created. All students who have joined your class will now be able to see this assignment on their homepage. Nice work!

Wonder what Revision Assistant looks like for your students? Want an easy way to walk your students through using this product? You're in luck. Every time a teacher creates a new class in Revision Assistant, a demo student account with the teacher's name will be added automatically to the class.
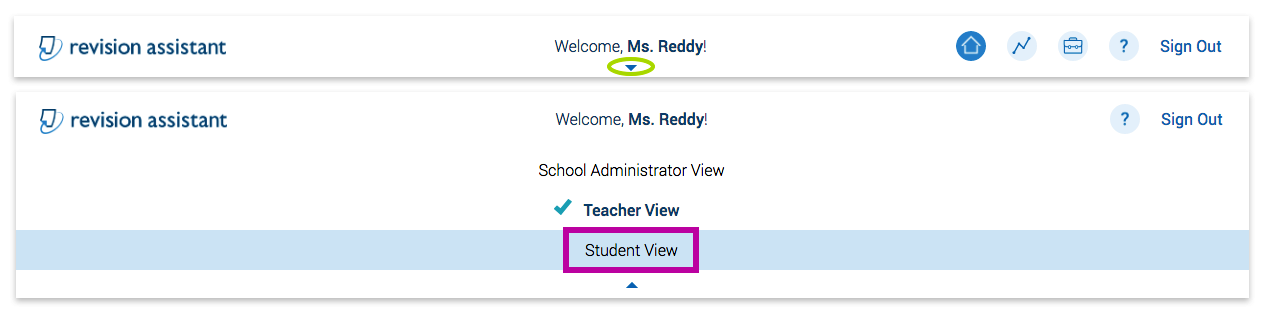
- Once you log in, locate the "Welcome [Your Name]!" header bar at the top of your screen.
-
Click on the down arrow in the header. A series of user type views will drop down.

- Select Student View from the dropdown. This will take you to the homepage for your demo student.
- On your student demo homepage, you will see any assignments you created for this class as a teacher.
- Feel free to click on an assignment and start interacting with Revision Assistant as a student!
See Exemplar Essays for sample essays of certain prompts that you can paste into the Writing Space. Check out the student guides for help navigating, formatting, and turning in an essay when you're using Student View.
- To switch back to Teacher View, just click the down arrow in the header again.
- Select Teacher View from the dropdown. You will be taken back to your teacher homepage view.
- You can switch between Student View and Teacher View at any point while using Revision Assistant. You will always be directed to the homepage view for that user type.
- Once you've logged in, click on the title of the assignment you'd like to view. This will bring you to the Assignment Overview page.
Spot Check assignments are often used as timed assessments, so they have a 'collect' feature that stops the assignment and auto-turns in students work. To view Spot Check submissions, first press the Collect Spot Check button on the Assignment Overview page.
- From the Assignment Overview page, you can access student essays by clicking Student Progress or Student Work in the sidebar. Here's what you can do on each page:
| Student Progress page | Student Work page |
|
|
Viewing the Student Progress Page
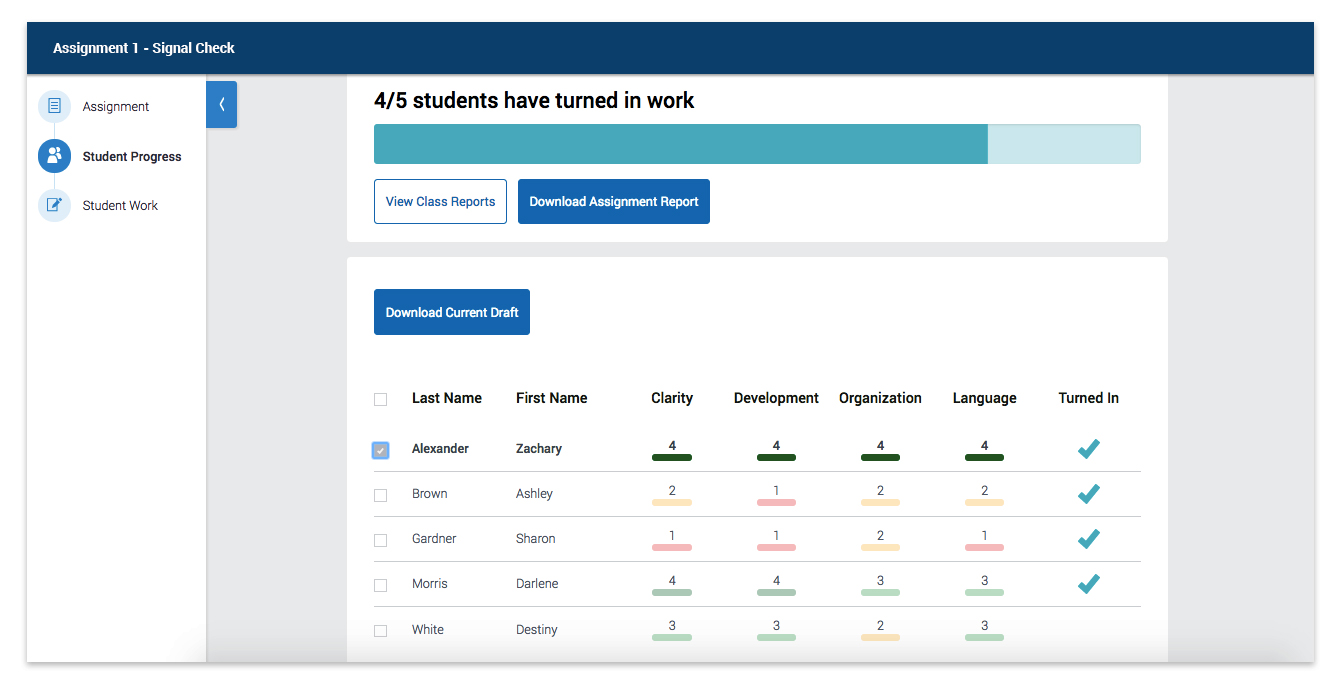
- Click Student Progress in the sidebar. This will take you to the Student Progress page for the assignment.
- On the Student Progress page, you will immediately see a table with an overview of how your students did on the assignment.
The progress overview table will look different depending on which assignment type you're reviewing. See Interpreting the Student Progress Page to help you understand what you're seeing.
- To see a student's turned in work or latest draft, just click the student's name.
- To download their current draft, click the check box next to their name and select the Download Current Draft button. You will still be able to see a student's latest draft even if they haven't turned it in yet.
- Also on the Student Progress page are the Class Report and Assignment Report buttons. Use these buttons to export reports on how your class is doing on one assignment or in an entire rubric category!
Viewing Student Work Page
- Click Student Work in the sidebar. This will bring you to the Student Work page.
- To see students' work, click the arrows to the left and right of each student's name at the top right of the page.
- Each student's most recent draft (even if it's a Proofread draft) will be expanded at the top of the page. All previous essay drafts and Proofread drafts a student wrote will be collapsed beneath the recent draft.
-
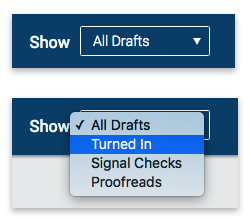
To only see a specific type of previous draft (i.e. only Proofread drafts or only Turned In drafts), click the Show [Draft Type] dropdown next to the student's name at the top right of the page.
- When you scroll down to the previous drafts, click the arrows next to each essay or Proofread draft time stamp to expand the draft.
- On a Signal Check essay draft...
- Click the Signal Check icons above each draft to see the overarching feedback the student received.
- Click the Signal Check icons along the side of each draft to see the specific feedback the student received.
- On an Expansion Pack essay draft...
Click the Signal Check icons above each draft to see the overarching feedback the student received.
Remember, Expansion Pack assignments give students holistic feedback, but they do not give sentence-level feedback like Signal Check assignments do, so you will not see icons along the sides of Expansion Pack essay drafts.
- On a Proofread Mode draft...
- Click each underlined word or phrase to see the reason it was flagged as a grammar or spelling error.
- Click Show Example to see the full explanation your student received for how to correct each error.
 This work is licensed under a Creative Commons Attribution-NonCommercial 4.0 International License.