Creating a Class
This guide only applies to users who access Revision Assistant on the Revision Assistant website. If you access Revision Assistant through a Learning Management System (LMS), such as Blackboard, Canvas, or Moodle, please see the guides provided by your LMS or your school to complete this task.
Create a Class
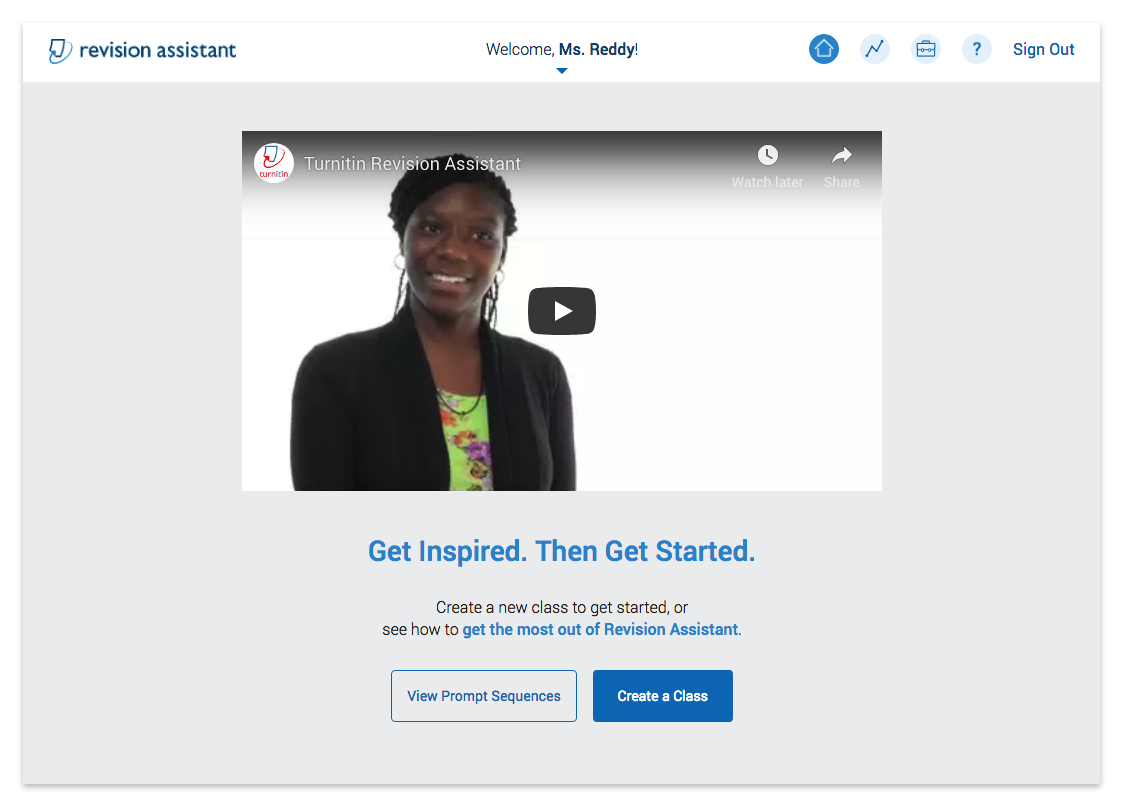
- The first time you log in, you'll be asked to create a display name for yourself that students will see, and you may be asked to enter a new password. Once you're finished, click Enter. Next, you'll be taken to the landing page. Click the Create a Class button on the landing page to get this party started.

- Fill in the class name, grade, subject, and any other information you'd like to include.
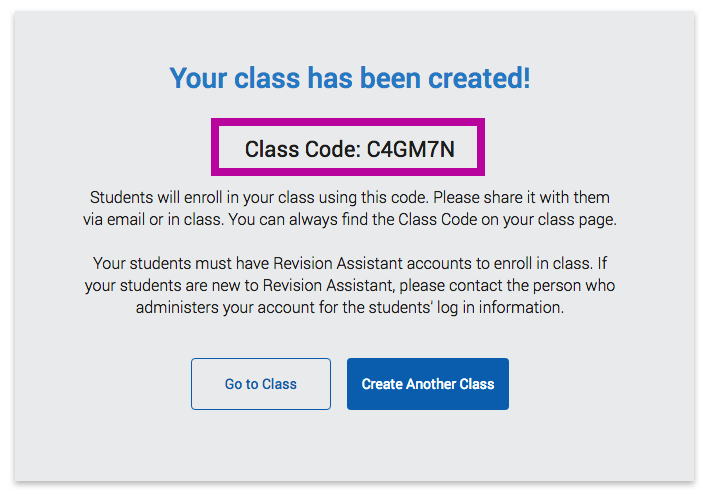
If you have a multi-school account, you will also have a School dropdown and you will need to select the school where you'd like to create the class. Click Continue when you're finished. A 'class creation success' message will come up with the class code for this new class.

- Share this class code with your students any way you like. Students will need this class code to join the class after they log in. The class code will remain the same throughout the existence of the class.
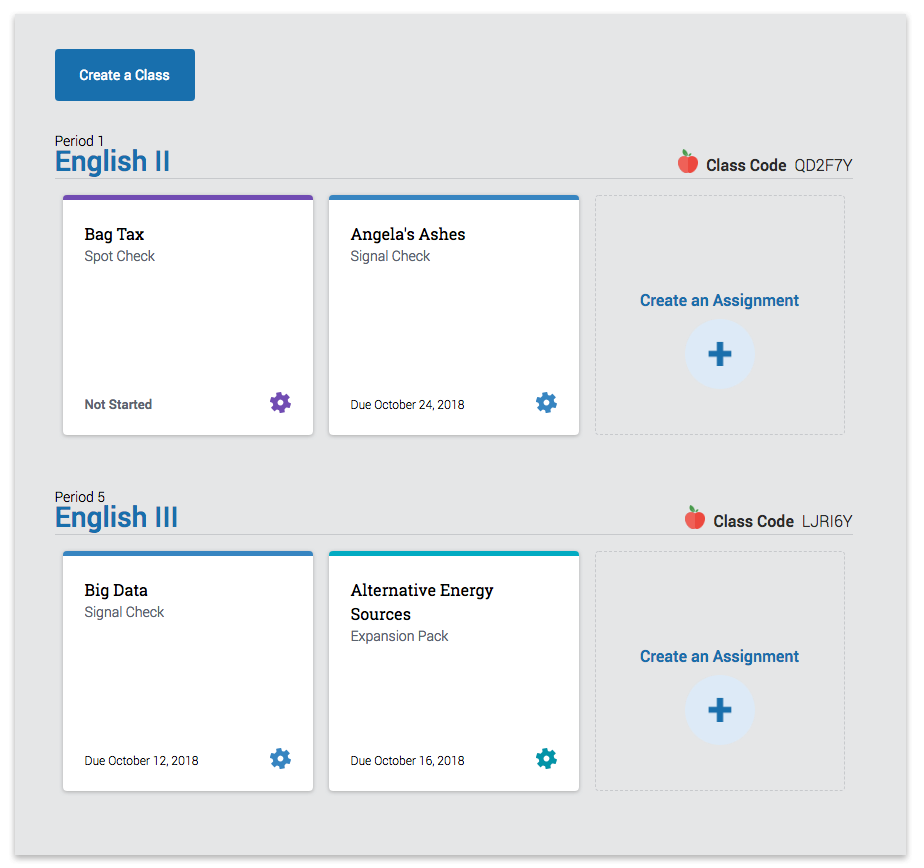
If you need to find your class code later, click the home icon in your header to navigate to your homepage. Your class code will be displayed there next to the class name.
-
From the 'success' message, click Create Another Class to create another class. You can also click Go to Class to go to the roster page for the class you just created.

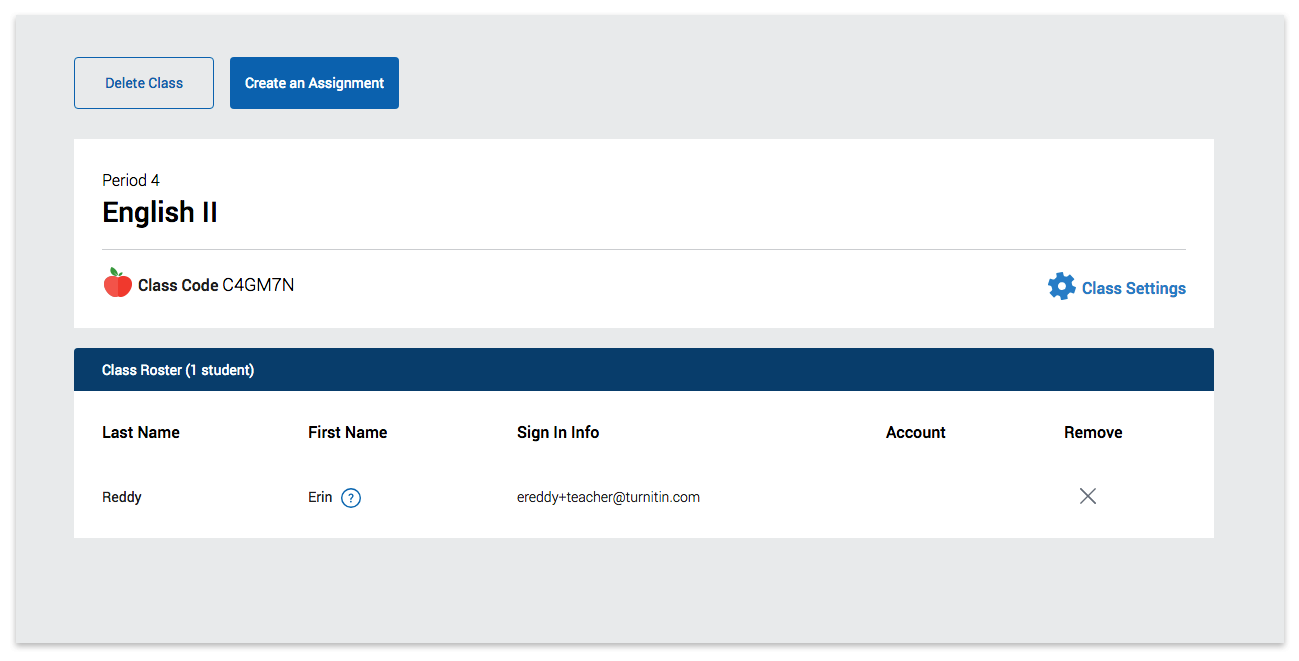
- When student accounts are created, Revision Assistant will automatically add each of your students to the class roster page. Once you've created your first class, you can always create more classes from your homepage by clicking the Create a Class button near the header.
Was this page helpful?
We're sorry to hear that.
