Step 3 - Linking the registration
After you have created your registration, and deployed it, you now have to link it to a launch.
- Navigate to the Link page for your deployment.
- At the end of the Deploy Tool step, a link is shown to the View Links page.
- Alternatively, Navigate to Manage Extensibility > LTI Advantage > [Your Tool] > View Deployments > [Your Deployment] > View Links, and select the New Link button.
- Give the link a name. This name will be visible to instructors when opening LTI.
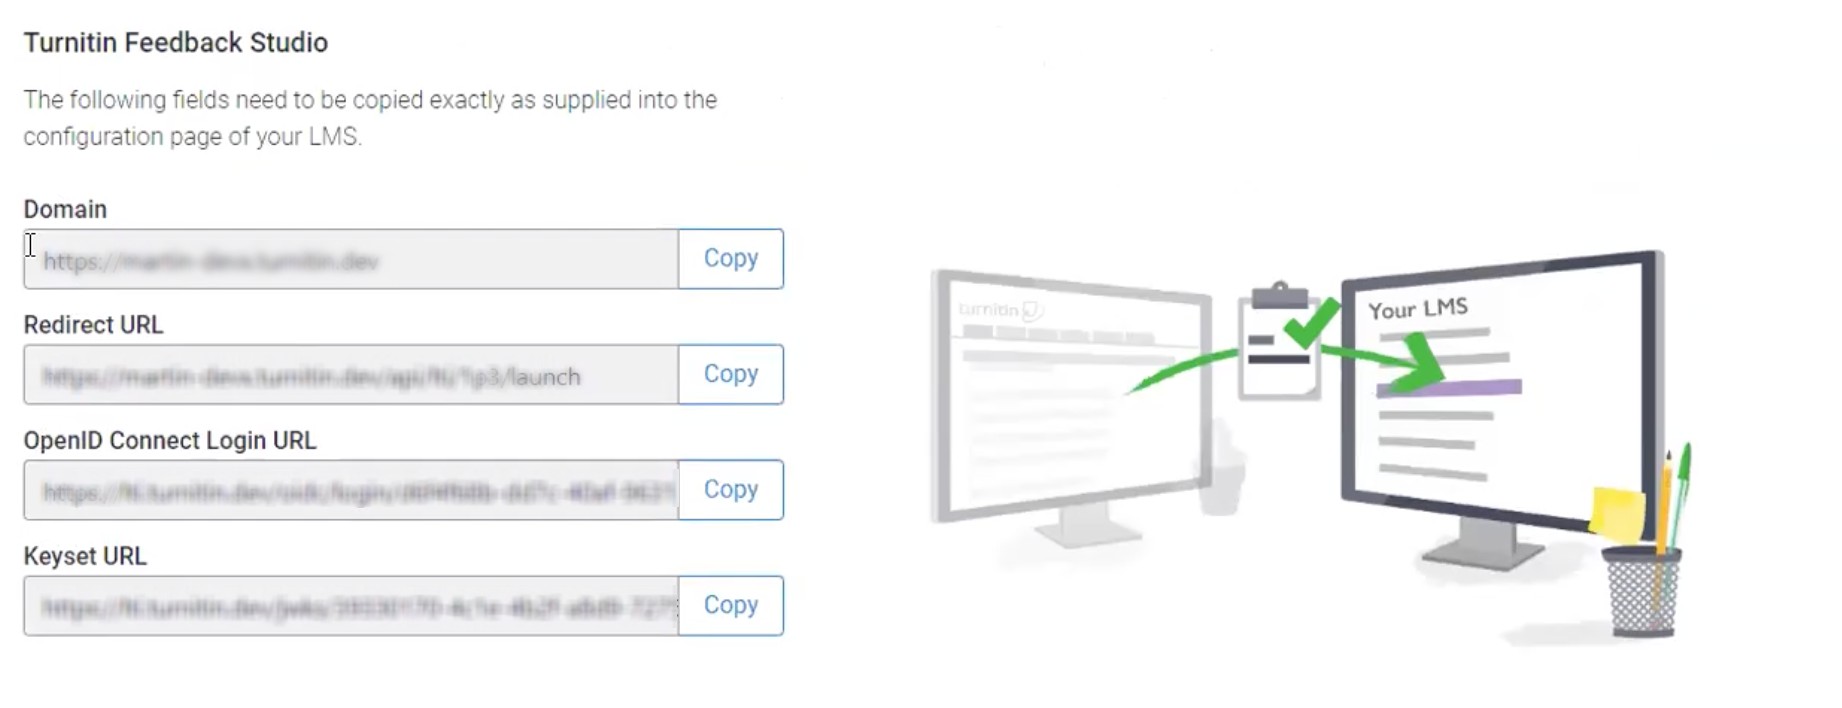
- To get the Redirect URL, open Turnitin.com/Turnitinuk.com and navigate to the configuration your created in step 1. Edit the registration to view the details again and find the Redirect URL in the Turnitin Feedback Studio section. Copy the Redirect URL into the URL field in Brightspace.
- Change the Type dropdown to Deep Linking QuickLink
- (Optional) You can set the height and width of the iFrame Turnitin will load in. We recommend keeping these set to their default values.
- To complete linking the launch, use the Save and Close button. Nearly there! To initalize the registration, you'll have to create a dummy assignment.
Thank you! Your feedback will help us to improve this guide.
Was this page helpful?
We're sorry to hear that
If you have the time, we'd love to know how we could improve it.
The guide
