The registration process for LTI 1.3 in D2L requires you to follow several steps in sequence. The steps require you to input information from Turnitin into D2L Brightspace and then fill in several fields in Turnitin with information from D2L Brightspace.
- If you are part of a global institution, log in into your Turnitin account via turnitin.com. Alternatively, log in to turnitinuk.com if you are part of a UK institution.
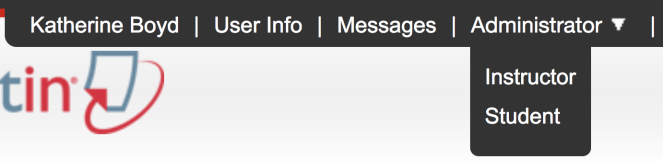
- Ensure that Administrator view is enabled from the drop-down menu at the top of the screen. If Instructor or Student is selected, please change to Administrator.
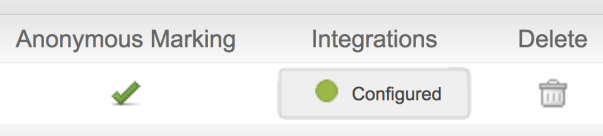
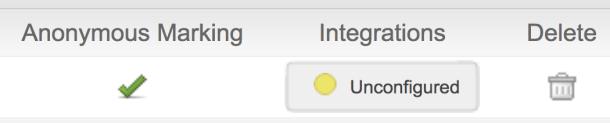
- The Unconfigured or Configured button will appear in the Integrations column on the administrator homepage.
- If an integration has already been configured, select the Configured button and check that all integration details are correct.
- If the integration has not been configured, select the Unconfigured button, then follow steps 4 to 7.
- If an integration has already been configured, select the Configured button and check that all integration details are correct.
- Select the LTI 1.3 button to open the configuration page.
Unconfigured integrations will have an unlit status button. A yellow status button indicates a partially configured integration. A green status button indicates a fully configured integration.
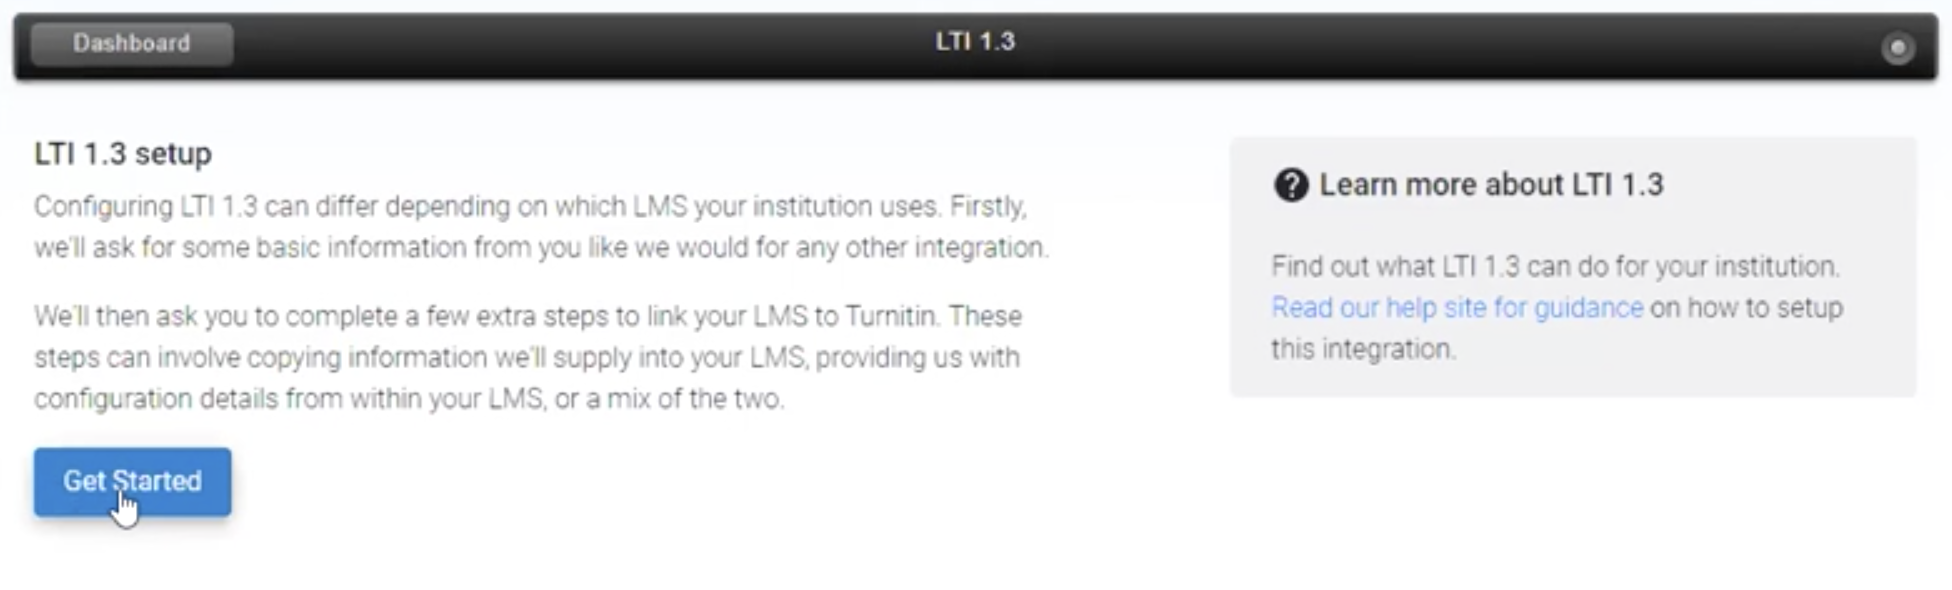
- If this is your first LTI 1.3 registration, review the introduction page to get an idea what you are about to do. When you're ready use the Get Started button to do just that!
- If you already have a pre-existing registration, select the Create new registration button from the registration dashboard.
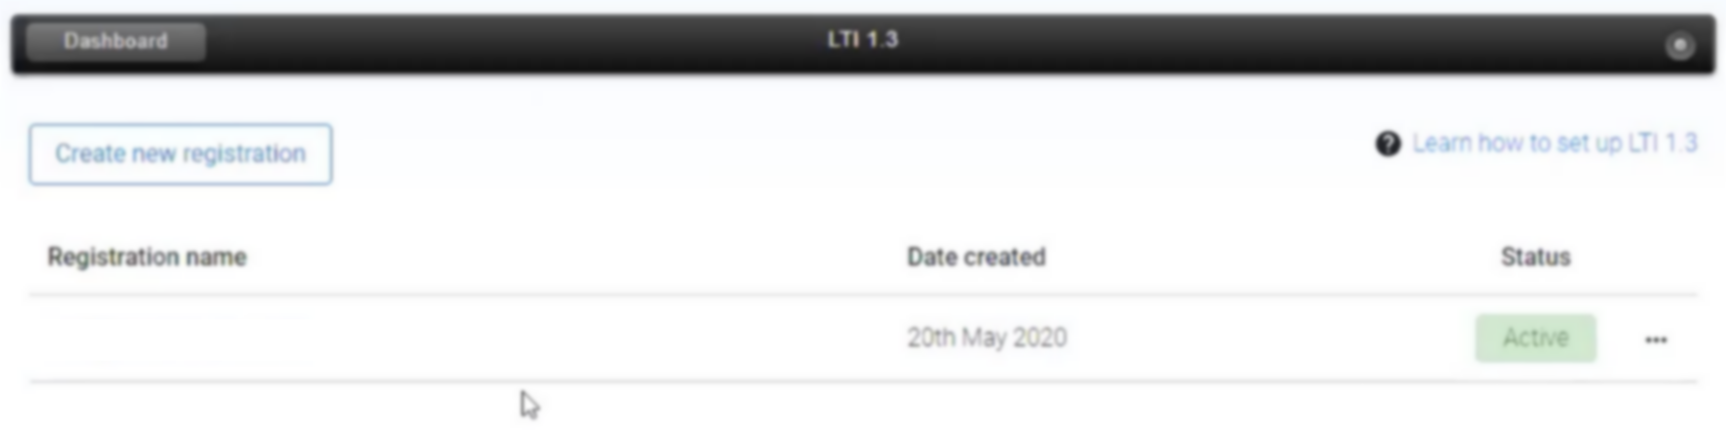
- If you already have a pre-existing registration, select the Create new registration button from the registration dashboard.
- Choose the LMS provider relevant to your configuration from the LMS Provider drop-down. Some LMS providers configure differently to others.
- Based on your selection the page will automatically update with the data most relevant to you. For D2L Brightspace, the set-up process has multiple phases. To begin, navigate to the Turnitin Feedback Studio section.
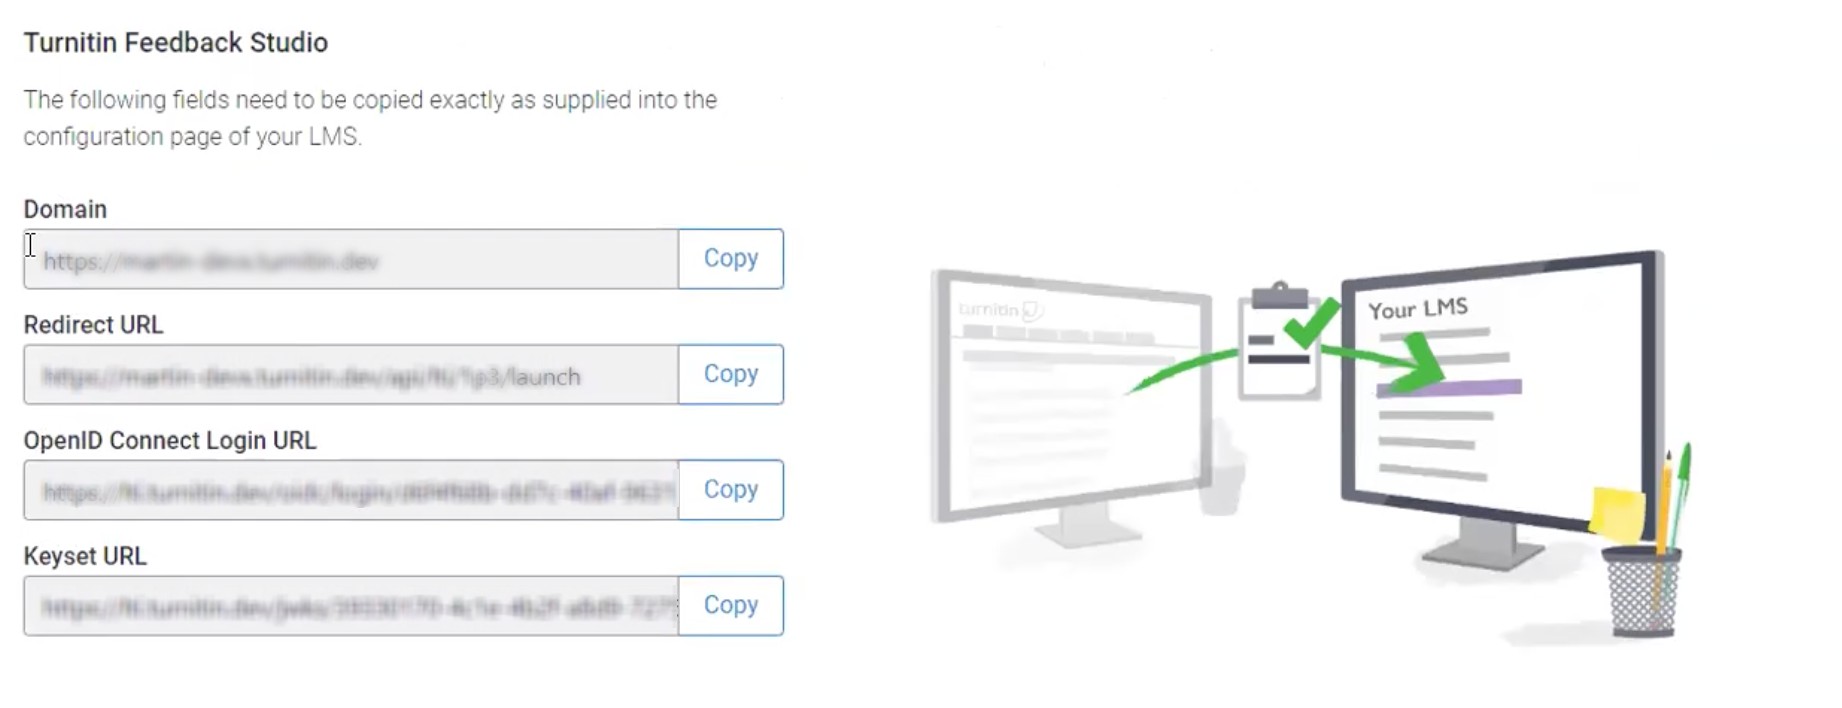
The information found in this section needs to be transferred to Brightspace. When prompted in the following steps, use the Copy button for the relevant field to guarantee it is copied correctly.
- Open a new window or tab, and log in to Brightspace as an administrator.
- Select the gear icon, and then navigate to the Manage Extensibility page via the link.
-
Select the LTI Advantage tab, and then select the Register Tool button.

- Start by giving the tool registration a title. We'd recommend something identifiable as you'll need to remember it in later steps. You can skip the Description field.
- The following four fields, Domain, Redirect URL, OpenID Connect Login URL, and Keyset URL are directly mirrored in the Turnitin tab you should still have open. Use the Copy button for each field and copy them directly into the fields within Brightspace.

- Navigate to the Extensions section and select the checkboxes for Assignment and Grade Services, Deep Linking, Names and Role Processing Services.

- Ensure the Send Institutional Role check-box is selected, and then use the Register button to complete the registration in Brightspace.

- A modal will appear on the screen. Don't close this just yet, as we'll need to transfer some of the information into the Turnitin tab.

- Use the Birghtspace Registration Details to fill in the mirrored fields in the LMS Details section of the Turnitin tab. These fields are Client Id, Brightspace Keyset URL, OpenID Connect Authentication Endpoint, and Issuer.
- Double check all the fields have been completed correctly, and then use the Save button to complete this stage of your registration.
- If successful, you'll be shown a message that you are 'Nearly there...'. To complete a registration, you'll need to create a dummy assignment to initialize the registration in our database.
Before you can create an assignment in Brightspace, you will have to first deploy the registration and then link it.
Was this page helpful?
We're sorry to hear that.
