Creating Assignments
Ready to pick a prompt to create your first assignment? Follow the assignment creation steps below based on whether you access Revision Assistant from the revisionassistant.com website OR from a Learning Management System, or LMS, (such as Canvas, Moodle, or Blackboard).
I access Revision Assistant from the/an...
Website
- You will need to create a class before you can create any assignments. Make sure to do that first! Once your class is set up, find it on your homepage. Your homepage is the first page you see when you log in. If you navigate to another page in Revision Assistant, you can always click the house icon in your header to take you to your homepage.
- Under the class name, click Create an Assignment or the plus sign button. This will take you to the prompt library.
- On the prompt library page, you will see color-coded tabs for each type of Revision Assistant assignment:
- Signal Check
- Expansion Pack
- Spot Check
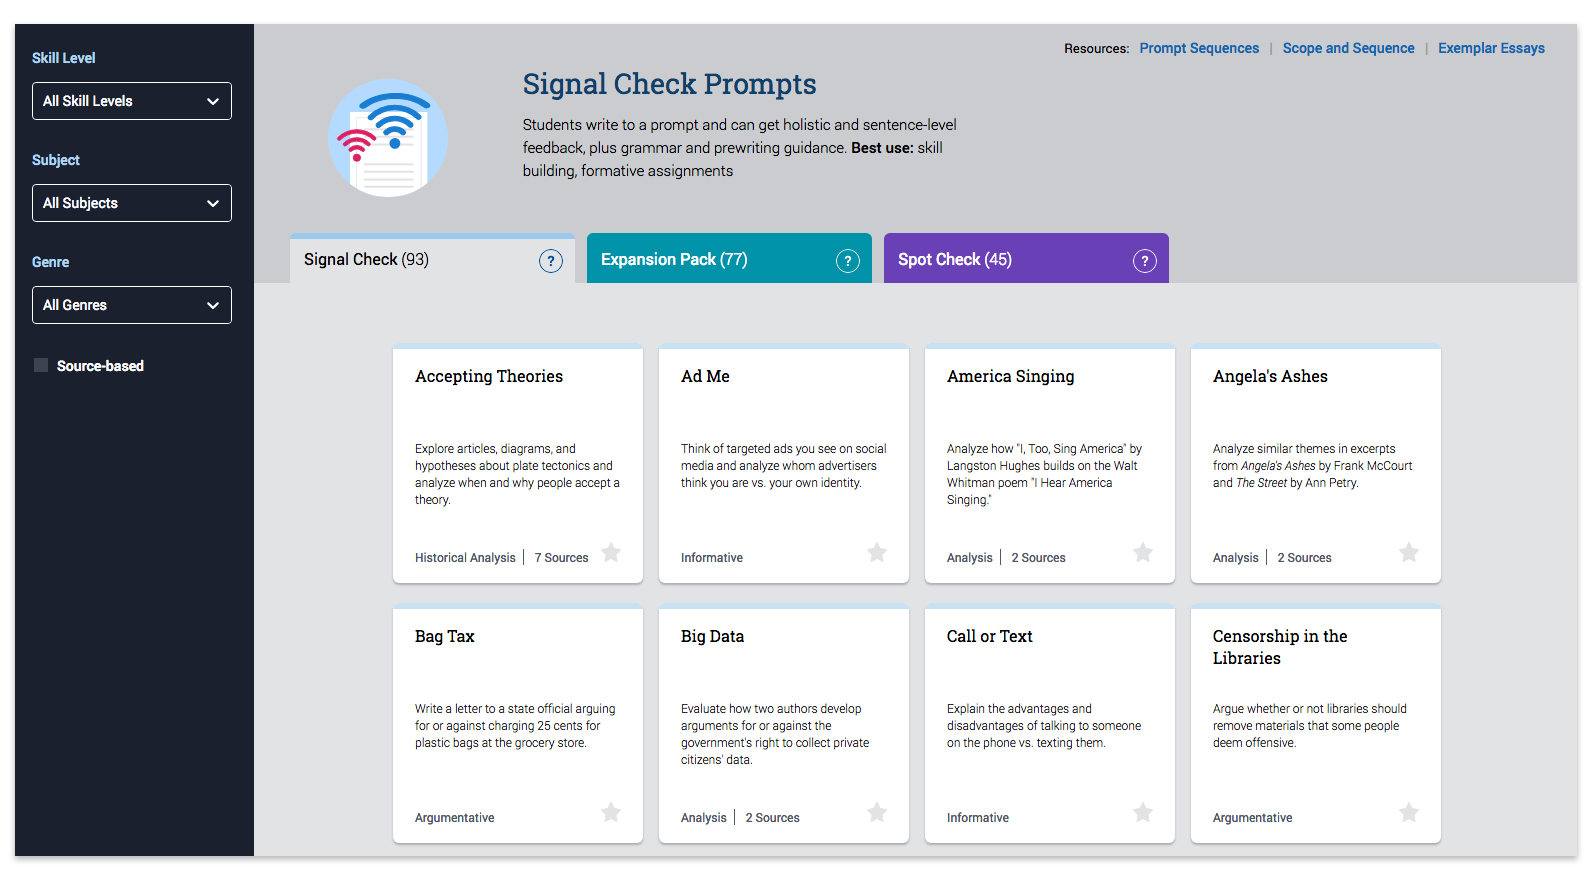
- Click each tab to see the available prompts for that assignment type. Click the question marks on the tabs to learn about the features each assignment type offers. To help you find a prompt more quickly...
- Use the grade, subject, genre, and source filters (left panel)
- Read the short description displayed on each square prompt tile
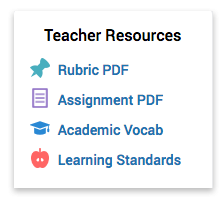
- Click each prompt tile to see the prompt page, which contains...
- The prompt and any sources students will need to review to write their essay
- A downloadable rubric PDF for how student writing will be scored
- A downloadable assignment PDF of the prompt and sources
- A downloadable vocab PDF of terms used in the prompts and instant feedback
- A link to the state and Common Core Learning Standards the prompt strengthens
- When you find a prompt you'd like to assign, add special instructions to students on the prompt page (optional). Then, click the Select Prompt button. The assignment settings window will come up.
- In the assignment settings window, change the name of the assignment (optional). It will be auto-filled with the prompt name. Assign a due date (optional). Click Create Assignment. A success page will come up when your assignment has been created. All students who have joined your class will now be able to see this assignment on their homepage. Nice work!

Remember, for a Spot Check assignment, you will still need to click the Start Spot Check button (found on the assignment page)for students to be able to start writing.
- If you access Revision Assistant through a Learning Management System (LMS) (e.g., Canvas, Moodle, or Blackboard), please use the guidance provided by your LMS first to set up course content, an assignment, an activity, or a module (terminology depends on the LMS) and link it to the Revision Assistant external LTI tool. General guidelines for how to do this in some of the major LMSs can be found in Revision Assistant's Account Basics guides.
- Launch your Revision Assistant assignment (or course content, module, activity, etc.) once it has been created within your LMS. This will take you to the Revision Assistant library page where you can pick a prompt to attach to the assignment you just created in your external tool.
- On the prompt library page, you will see color-coded tabs for each type of Revision Assistant assignment:
- Signal Check
- Expansion Pack
- Spot Check
- Click each tab to see the available prompts for that assignment type. Click the question marks on the tabs to learn about the features each assignment type offers. To help you find a prompt more quickly...
- Use the grade, subject, genre, and source filters (left panel)
- Read the short description displayed on each square prompt tile
- Click each prompt tile to see the prompt page, which contains...
- The prompt and any sources students will need to review to write their essay
- A downloadable rubric PDF for how student writing will be scored
- A downloadable assignment PDF of the prompt and sources
- A downloadable vocab PDF of terms used in the prompts and instant feedback
- A link to the state and Common Core Learning Standards the prompt strengthens
- When you find a prompt you'd like to assign, add special instructions to students on the prompt page (optional). Then, click the Select Prompt button. The assignment settings window will come up.
- In the assignment settings window, change the name of the assignment (optional). It will be auto-filled with the prompt name. Assign a due date (optional). Click Create Assignment. A success page will come up when your assignment has been created. All students who have joined your class will now be able to see this assignment on their homepage. Nice work!
Remember, for a Spot Check assignment, you will still need to click the Start Spot Check button (found on the assignment page)for students to be able to start writing.
Was this page helpful?
We're sorry to hear that.
