You may upload a student list to add to a course. The student list must be one hundred (100) entries or less. Larger classes may be separated into multiple lists, each of which can be uploaded individually.
The list must be a Microsoft Excel file. The first name, last name, and Email address for each student must be provided. The formatting must be as shown below: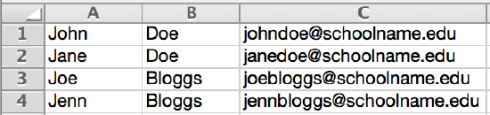
Once the student list is available, the list may be uploaded from the student page of the class.
By adding students to the class directly, each student added to the class will be automatically e-mailed and provided with instructions on how to create their password. If the e-mail address entered when adding a student is not valid, the student will not receive an e-mail. For this reason, students who do not possess valid e-mail addresses must enroll themselves using the class ID and enrollment key.
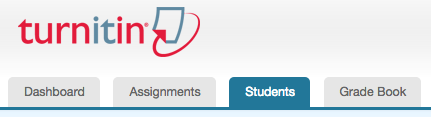
- From the class home page, click on the students tab.
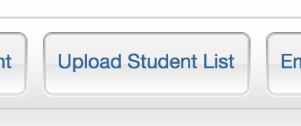
- Click the upload student list button.
- Click the Choose File button and locate the file containing the student list on your computer.
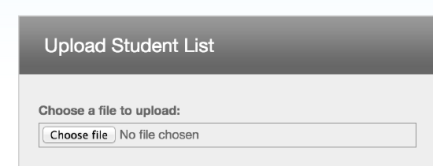
- Click submit to upload the student list file
- The student list will be displayed. Check the displayed list for errors. To submit this list, click yes, submit. If you find any errors, or the incorrect file was selected, choose no, go back and make the necessary changes or select a different file for step 3
- Once yes, submit has been selected the final screen will display the newly enrolled list of student users. To return to the class student page, click the return to students link in the top right-hand corner.
Was this page helpful?
We're sorry to hear that.
