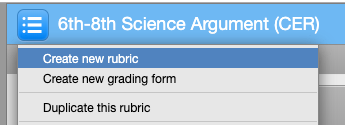
Once the Rubric/Form Library has been opened, a random rubric from your libraries will be displayed. To begin, select Create new rubric or Create new grading form from the menu located in the top left-hand corner.
Dependent on the type of assignment, there are four grading tools to choose from:
-
Standard rubric - used for numerical scoring. This type of rubric allows you to enter scale values and criteria percentages. The criteria percentages combined must equal 100% as each criterion represents a percentage of the student’s overall grade. The maximum grade value for this type of rubric will be the same as the highest scale value entered.
-
Qualitative rubric - used for providing feedback without the use of numerical scoring. The scale and criteria used for this type of rubric are more descriptive than measurable.
-
Custom rubric - can be modified to suit your grading needs. Descriptive scales and criteria can be entered while each rubric cell can be allocated its own point value as well as written feedback.
-
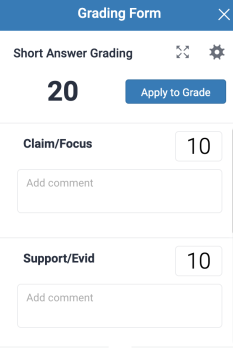
Grading form - used for providing feedback with or without the use of numerical scoring or scaled criteria. The criteria used is more descriptive than measurable and each criterion is standard as opposed to having scaled levels like in rubrics. Numerical scoring can be added for each individual criterion and these will be added together to create an overall grade.
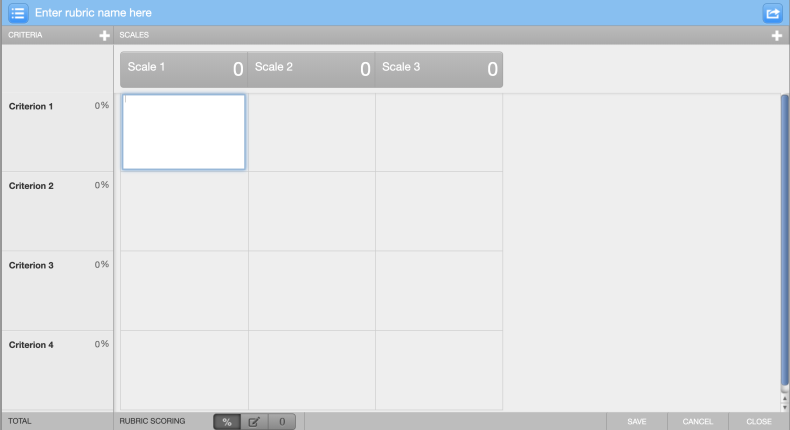
Standard
- Ensure the % icon is selected in order to access the standard rubric template. This should automatically be selected as it is the default Rubric Scoring option.

-
Enter a name for your rubric by clicking on Enter rubric name here in the top left of the Rubric and Form Manager. To save your title, click anywhere outside of the text field.
-
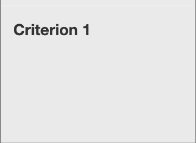
To edit the name, description, or percentage value of a criterion, click directly onto the relevant field and begin typing. Press enter or click anywhere outside of the text field to finish editing.
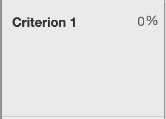
The criteria percentages combined must equal 100% as each criterion represents a percentage of the student’s overall grade.
-
To add extra rows of criteria, click on the + icon to the right of the Criteria header.
-
You can delete a criterion by hovering over it and selecting the trash can icon that appears in the bottom left corner.
-
-
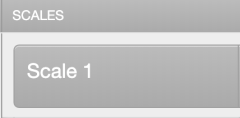
To enter the scale title or value, click on the scale title or scale value and begin typing. Click anywhere outside of the text field to finish editing.
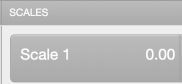
While you can assign decimal values to a rubric once applied to a grade the decimal will be rounded to the nearest whole number.
-
To add extra scale columns click on the + icon to the right of the Scale header.
-
You can delete a scale column by hovering over it and selecting the trash can icon that appears above the scale header.
-
-
To enter the description for each cell, click on the cell, enter the description, and then click outside of the cell’s text field to finish editing the description.
-
Once the rubric is complete, click the Save button at the bottom right of the Rubric and Form manager.
-
Your newly created rubric will now appear in the list that appears within the Rubric/Form library.
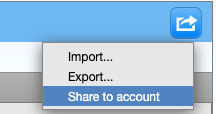
- To share your rubric with instructors in your institution, select the arrow icon in the top right corner and select Share to account.
Qualitative
-
Ensure the 0 icon is selected in order to access the qualitative rubric template. Hovering over the icon will let you know which rubric type you have selected.

-
Enter a name for your rubric by clicking on
Enter rubric name here in the top left of the Rubric and Form Manager. To save your title, click anywhere outside of the text field. -
To edit the name or description of a criterion, click directly onto the relevant field and begin typing. Press enter or click anywhere outside of the text field to finish editing.
-
To add extra rows of criteria, click on the + icon to the right of the Criteria header.
-
You can delete a criterion by hovering over it and selecting the trash can icon that appears in the bottom left corner.
-
-
To enter the scale title, click on the scale title or scale value and begin typing. Click anywhere outside of the text field to finish editing.

-
To add extra scale columns click on the + icon to the right of the Scale header.
-
You can delete a scale column by hovering over it and selecting the trash can icon that appears above the scale header.
-
-
To enter the description for each cell, click on the cell, enter the description, and then click outside of the cell’s text field to finish editing the description.
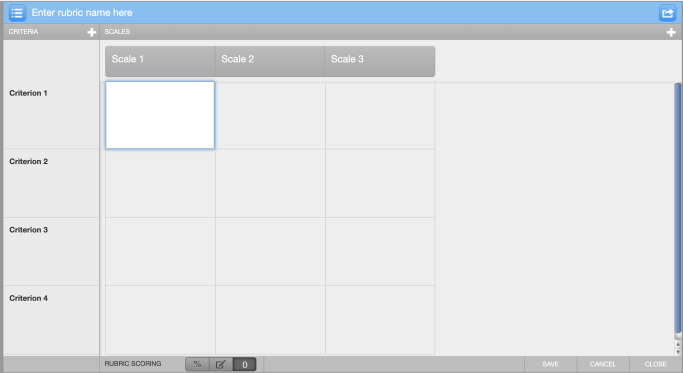
- Once the rubric is complete, click the Save button at the bottom right of the Rubric and Form manager.
-
Your newly created rubric will now appear in the list that appears within the Rubric/Form library.
- To share your rubric with instructors in your institution, select the arrow icon in the top right corner and select Share to account.
Custom
-
Ensure the pen and paper icon is selected in order to access the custom rubric template. Hovering over the icon will let you know which rubric type you have selected.

-
Enter a name for your rubric by clicking on Enter rubric name here in the top left of the Rubric and Form Manager. To save your title, click anywhere outside of the text field.
-
To edit the name or description of a criterion, click directly onto the relevant field and begin typing. Press enter or click anywhere outside of the text field to finish editing.
-
To add extra rows of criteria, click on the + icon to the right of the Criteria header.
-
You can delete a criterion by hovering over it and selecting the trash can icon that appears in the bottom left corner.
-
-
To enter the scale title, click on the scale title or scale value and begin typing. Click anywhere outside of the text field to finish editing.
-
To add extra scale columns click on the + icon to the right of the Scale header.
-
You can delete a scale column by hovering over it and selecting the trash can icon that appears above the scale header.
-
-
To enter the description or score for each cell, click on the cell, enter the description or score, and then click outside of the cell’s text field to finish editing.

If scores are entered into the descriptive cells, each cell that is selected during the grading process will be added together to create an overall grade.
-
Once the rubric is complete, click the Save button at the bottom right of the Rubric and Form manager.
-
Your newly created rubric will now be shown in the list that appears within the Rubric/Form library.
- To share your rubric with instructors in your institution, select the arrow icon in the top right corner and select Share to account.
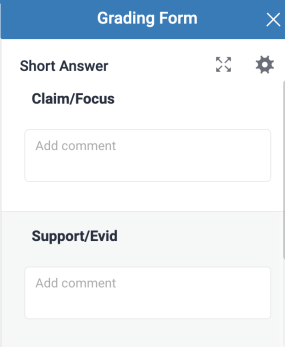
Grading Form
-
Enter a name for your grading form by clicking on Enter grading form name here in the top left of the Rubric and Form Manager. To save your title, click anywhere outside of the text field.
-
To edit the name or description of a criterion, click directly onto the relevant field and begin typing. Press enter or click anywhere outside of the text field to finish editing.

-
You can add extra rows of criteria by either clicking on the + icon to the right of the criteria header or by clicking the large + icon at the bottom of the page.
-
You can delete a criterion by selecting the trash can icon that appears to the right of the criterion description.
-
-
If you would like to use a grading form for simply adding comments to the assignment criteria, you can disable scoring. Select whether to enable scoring at the bottom of the screen.
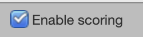
If scoring is enabled, this will only be visible from Turnitin Feedback Studio during the grading of the student's paper. An extra box will appear to allow a numerical score to be entered.
-
Once the grading form is complete, click the Save button at the bottom right of the Rubric and Form manager.
-
Your newly created grading form will now be shown in the list that appears within the Rubric/Form library.
- To share your grading form with instructors in your institution, select the arrow icon in the top right corner and select Share to account.
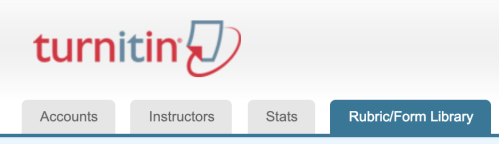
Was this page helpful?
We're sorry to hear that.
