Step 1 - Getting started
Getting started with roster sync is a simple process but it does require you to follow a series of steps to make sure everything is done in the right order. To get started, you'll first have to find the Roster tab found in your account info page. Already found it? Skip ahead to step 2 where you'll configure your SFTP to talk to Turnitin.
Roster sync must first be enabled for your institution by your Turnitin account manager.
- As the top-level administrator for an account, navigate to the account info page for the top-level Turnitin account for your institution.
It's possible to roster for a single sub-account, but you'll have to configure the roster in the top-level account.
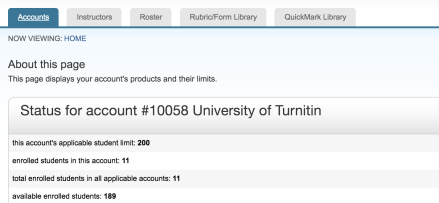
- Look for the Roster tab at the top of the page. Select this tab to start the set-up process.

- You'll be taken to the roster sync set-up page. The first page you'll see is a quick overview of the process. Once you are ready to proceed, use the Next button.
Was this page helpful?
We're sorry to hear that.
