The registration process for LTI 1.3 in Sakai requires you to follow several steps in sequence. The steps require you to input information from Turnitin into Sakai, and then fill in several fields in Turnitin with information from Sakai.
The 'LTI configuration light' won't show as activated on the Integration Configuration screen when you have completed the configuration.
- If you are part of a global institution, log in into your Turnitin account via turnitin.com. Alternatively, log in to turnitinuk.com if you are part of a UK institution.
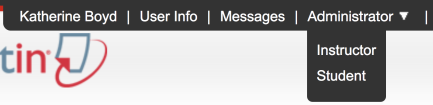
- Ensure that Administrator view is enabled from the drop-down menu at the top of the screen. If Instructor or Student is selected, please change to Administrator.
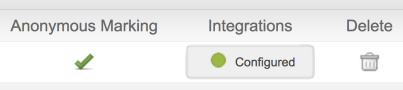
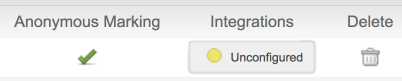
- The Unconfigured or Configured button will appear in the Integrations column on the administrator homepage.
- If an integration has already been configured, select the Configured button and check that all integration details are correct.
- If the integration has not been configured, select the Unconfigured button, then follow steps 4 to 7.
- If an integration has already been configured, select the Configured button and check that all integration details are correct.
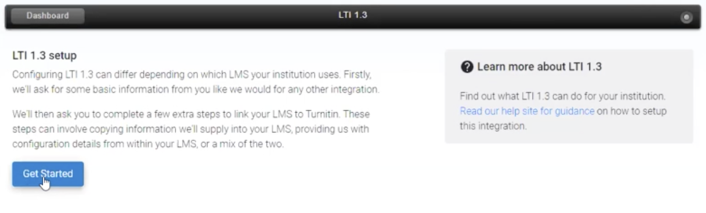
- Select the LTI 1.3 button to open the configuration page.
Unconfigured integrations will have an unlit status button. A yellow status button indicates a partially configured integration. A green status button indicates a fully configured integration.
- If this is your first LTI 1.3 registration, review the introduction page to get an idea what you are about to do. When you're ready use the Get Started button to do just that!
- If you already have a pre-existing registration, select the Create new registration button from the registration dashboard.
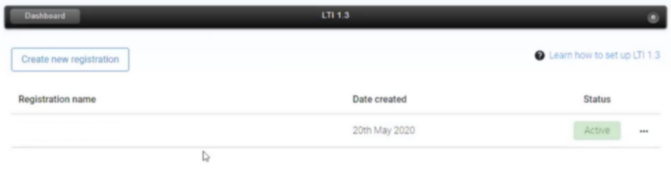
- If you already have a pre-existing registration, select the Create new registration button from the registration dashboard.
- Choose the LMS provider relevant to your configuration from the LMS Provider drop-down. Some LMS providers configure differently to others.
- Based on your selection the page will automatically update with the data most relevant to you. For Sakai, the set-up process has multiple phases. To begin, navigate to the Turnitin Feedback Studio section.
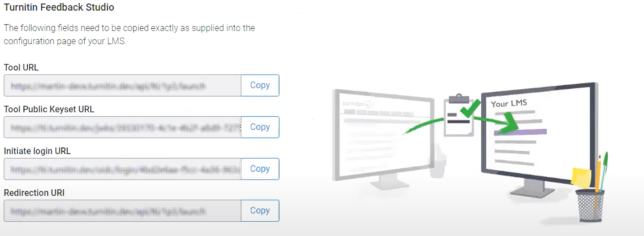
The information found in this section needs to be transferred to Sakai. When prompted in the following steps, use the Copy button for the relevant field to guarantee it is copied correctly.
- Open a new window or tab, and log in to Sakai as an administrator.
From the administrator dashboard, navigate to Site administration > Plugins > Activity Modules > Manage Activities > External Tool > Manage External Tools
Open the Administration Workspace site.
- Access the Worksite setup for the Administrator Workspace site.

Open the External Tools tab.
Select the Install LTI 1.x Tool link.

- Start by giving the tool registration a title by filling the Tool Title field. We'd recommend something identifiable as you'll need to remember it in later steps. Change the Allow tool Title to be changed to Allow.
- Choose an icon to associate with the registration. This can be any that Sakai supports that will make it more identifiable for your instructors. We're partial to fa-file-text. Set Allow custom icon to be changed to Do not allow.
- Change the Button Text to be the same as the Tool Title. Set Allow button text to be changed to Allow.
- [Optional] Add a description to the registration if needed.
- Set the Tool Status to Enabled.
- Set the Tool Visibility to Visible.
- Switch back to Turnitin and copy what is shown in the Launch URL field into the equivalent field in Sakai.
- Set Allow Launch URL to be changed to Allow.
- Skip the Launch Key and Allow launch key to be changed (Do no allow) fields.
Copy the Launch Secret from Turnitin, and paste it into the equivalent field in Sakai. Do not allow this field to be changed.
- Leave the Frame Height and Tool Order blank, or customize them to the needs of your Site.
- Set Configuration dialog when tool is selected to Bypass configuration dialog.
- For the following settings, select the correct state for the provided checkbox.
Setting Selection Send User Names to External Tool Checked Send Email Addresses to External Tool Checked Allow External Tool to return grades Checked Allow External Tool to create grade columns Checked Provide Roster to External Tool Checked Allow External Tool to store setting data Unchecked The tool can receive an LTI launch Unchecked The tool can receive a Content-Item or Deep-Link Launch Checked Allow the tool to select from Lessons Checked Allow the tool to be one of the assignment types Checked Allow the tool to be used from the rich text editor Unchecked Tool supports the privacy launch message (experimental) Unchecked Allow the tool to provide a common cartridge Unchecked Allow the tool to provide a file Unchecked - Add the following to the Custom Parameters text box.
originality_callbacks_enabled=1
Skip the next two text boxes.
Change the LTI 1.3 Support radio button to select Tool Supports LTI 1.3.
Copy the LTI 1.3 Platform URL from Sakai to the relevant field within Turnitin.
Switch back to Turnitn and copy the following items from the configuration screen into Sakai: LTI 1.3 Client ID, LTI Tool Keyset URL, LTI 1.3 Tool OpenID Connect/Installation Endpoint, and LTI 1.3 Tool Redirect Endpoints.
There may be multiple LTI 1.3 Tool Redirect Endpoints. Copy them individually, and separate them with a comma.
Was this page helpful?
We're sorry to hear that
If you have the time, we'd love to know how we could improve it.
The guide
