Launch URL - This will be different if you are accessing Turnitin from the United Kingdom or from if you are accessing from elsewhere. You may also know it as the Domain URL or the Remote Tool
URL.
https://api.turnitinuk.com/api/lti/1p0/assignment (UK users only)
https://api.turnitin.com/api/lti/1p0/assignment (All other users)
Launch Key - This is your Turnitin Account ID. You'll find it in your initial account creation emails from Turnitin, or you can also log in to Turnitin.com (or TurnitinUK.com) and see it on the Administrator Homepage.
Launch Secret - In Turnitin, this is called the Shared Key. You create this when you configure your account in Turnitin.
Creating a Site within Sakai
The illustrations in the following guidance may differ slightly, depending on the version of Sakai you are currently using. If the steps differ from what you see, check out Sakai's documentation for guidance that might better reflect the version number you have installed.
To be able to configure Turnitin LTI with Sakai you must first create a 'site' in which it can live.
- From the Homepage, navigate to Sites.
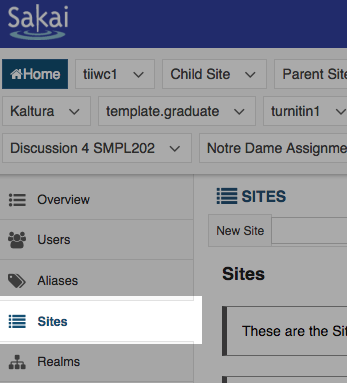
- From the Sites page, select New Site.

- Create the Sakai site as you usually would. Any settings here will have no impact on the Turnitin LTI integration. We recommend using something relevant for the required Site Id field, such as 'Turnitin LTI'.
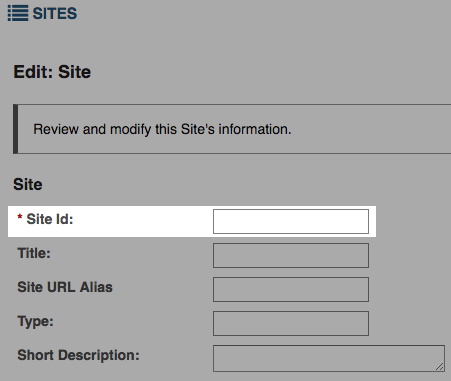
- Enter the word course into the Type field.
This field must be set with a lowercase c. Capital C will cause problems when you try to enable the external tool with a Lesson.
- After you have completed setting up your Site, select Save to finish.
Adding an External Tool to Your Sakai Site
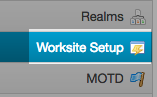
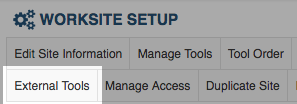
- Navigate to Worksite Setup page.
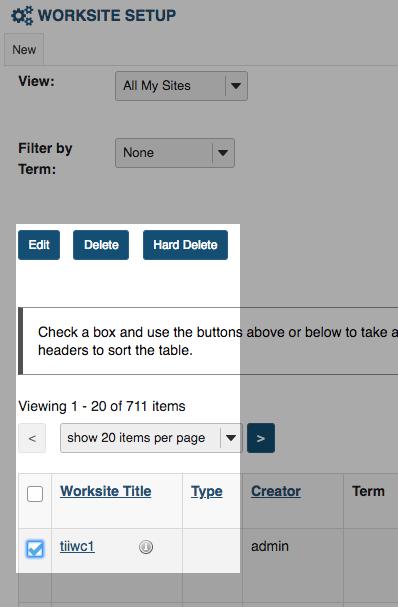
- Select the checkbox next to the site you would like to add Turnitin LTI to, select the Editbutton.
- Select the External Toolsbutton on the My Workspace: Worksite Setup page.
- Select the Install LTI 1.1 Tool link.

- Add a Tool Title, button text, set an icon, and add a description for the tool. You can choose anything you want for these fields, but we recommend using something relevant so you can recognize it later.
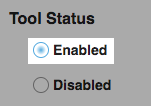
- Set the Tool Status radio button to Enabled.
- Change the Launch URL field:
If you're in the UK use -https://api.turnitinuk.com/api/lti/1p0/assignment
If you a global customer use -https://api.turnitin.com/api/lti/1p0/assignmentSet the Launch Key to your Turnitin Account ID.
Set the Launch Secret to your Turnitin Shared Key. You configure this key when you set up your Turnitin account.
From the Privacy Settings section, enable the Send User Names to External Tool and Send Email Addresses to External Tool fields.
- Use Grade passback? Select the Allow External Tool to return Gradescheckbox
Want to share student roster data with Turnitin? Select the Provide Roster to External Tool checkbox - Set the Launch in a Popup sectionto Never Launch in Popup.
- Set the Debug Launch section to Never Launch in Debug Mode.
- Set SHA-256 Signature Support to Sign Launch with SHA-1 (Legacy)
- Set all other fields to Do not allow
- Select the Save button to complete the configuration.
Was this page helpful?
We're sorry to hear that.
