Configuring Turnitin LTI 1.3 in Moodle
If you already have LTI 1.1 integrated in your Moodle production environment, follow these directions.
Step 1 - Configure your LTI integration in Turnitin
The LTI configuration light won't show as activated on the Integration Configuration screen when you have completed the configuration. However, when you click into the Configuration Dashboard, the LTI 1.3 option will be lit green there.
The registration process for LTI 1.3 in Moodle requires you to follow several steps in sequence. The steps require you to input information from Turnitin into Moodle, and then fill in several fields in Turnitin with information from Moodle.
- If you are part of a global institution, log in into your Turnitin account via turnitin.com. Alternatively, log in to turnitinuk.com if you are part of a UK institution.
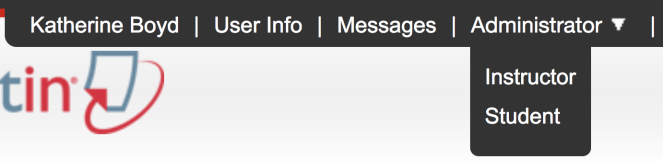
- Ensure that Administrator view is enabled from the drop-down menu at the top of the screen. If Instructor or Student is selected, please change to Administrator.
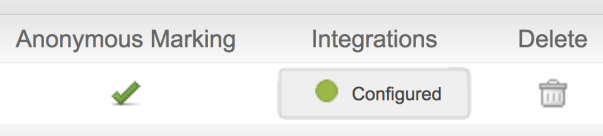
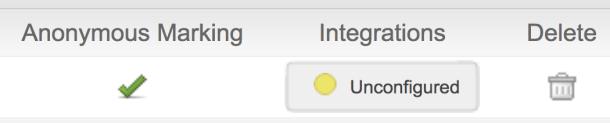
- The Unconfigured or Configured button will appear in the Integrations column on the administrator homepage.
- If an integration has already been configured, select the Configured button and continue with step 4.
- If the integration has not been configured, select the Unconfigured button and continue to step 4.
- If an integration has already been configured, select the Configured button and continue with step 4.
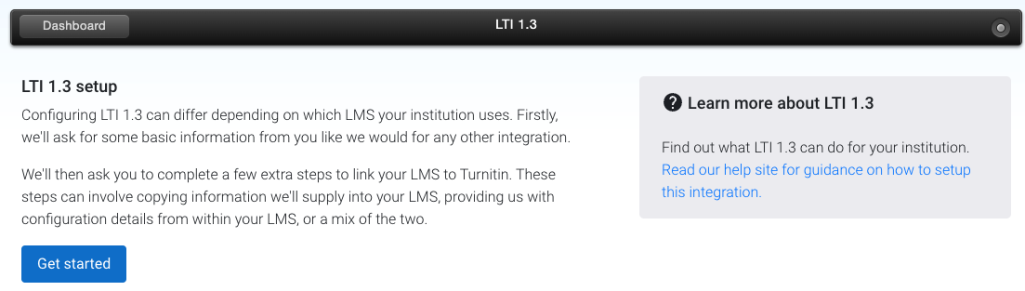
- Select the LTI 1.3 button to open the configuration page.
Unconfigured integrations will have an unlit status button. A yellow status button indicates a partially configured integration. A green status button indicates a fully configured integration.
- Select the Get Started button to open the configuration page.
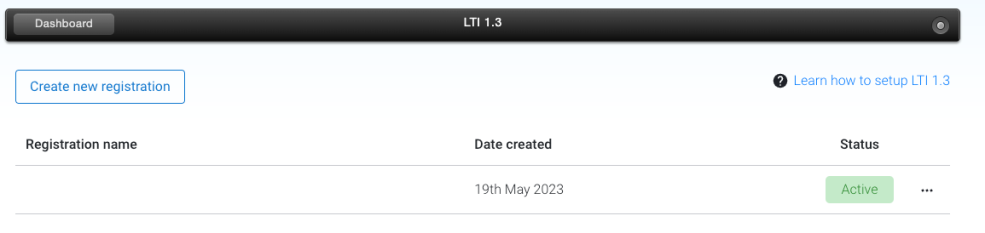
- If you already have a pre-existing registration, select the Create new registration button from the registration dashboard.
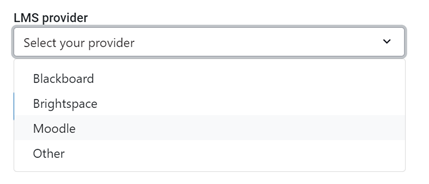
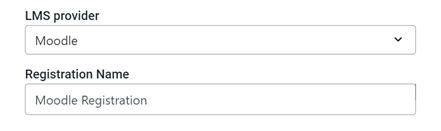
- Choose Moodle from the dropdown.
- Name your registration.
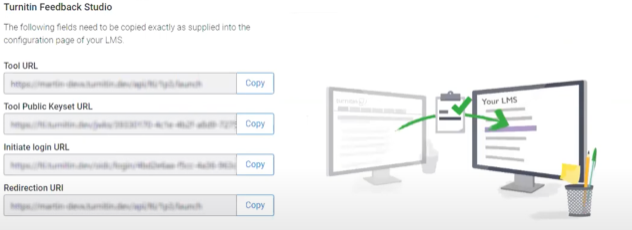
- The information that you will need to copy and paste into Moodle will auto-populate in the Turnitin Feedback Studio section. Please use the Copy button for the relevant field to guarantee it is copied correctly.
- While keeping your Turnitin tab open, open a new window or tab, and log in to Moodle as an administrator.
- From the administrator dashboard, navigate to Site Administration > Plugins > Activity Modules > Manage Activities > External Tool > Manage External Tools.
- From the Manage Tools box, select Configure a tool manually (i.e., Turnitin).
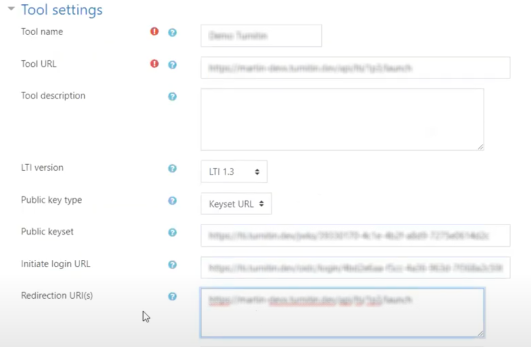
- Next, copy the Tool URL from turnitin.com and paste it into the Tool URL field in Moodle. You can skip the Description field.
- Change the LTI version to LTI 1.3.
- Keep the Public Key Type as Keyset URL.
- From turnitin.com, copy the following three fields: Tool Public Keyset URL, Initiate login URL, and Redirection URI(s), and paste them into the corresponding Moodle fields.
- For the Tool configuration usage, choose to Show in activity chooser and as a pre-configured tool.
- For the Default launch container, choose Embed, without blocks
- Check the Supports Deep Linking (Content-Item Message) checkbox so it is enabled for the registration.
- Open Show More and paste this URL: https://marketing-tii-statamic-assets-us-west-2.s3-us-west-2.amazonaws.com/logos/turnitin-favicon_2021.png so that the Turnitin icon will indicate a Turnitin assignment for users.
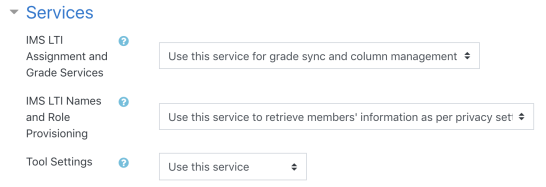
- In the Services section, for IMS LTI Assignment and Grade Services, choose Use this service for grade sync and column management. For IMS LTI Names and Role Provisioning, choose Use this service to retrieve member's information as per privacy settings. For Tool Settings, choose Use this Service.
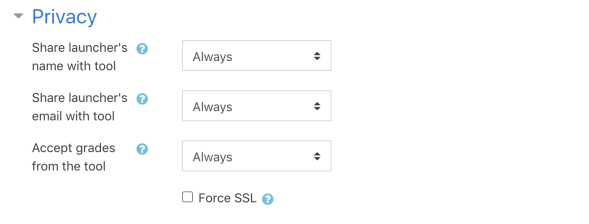
- Expand the Privacy section and enable all options, switching them to Always.
- Double check that all of the fields have been completed correctly. Then, use the Save Changes button to complete this stage of your registration.
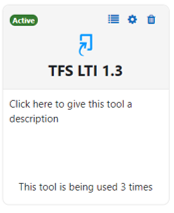
- Your registration will now be shown in the External Tools section of the Site Administration settings. Now we need to transfer some settings from Moodle over to Turnitin to activate it in Turnitin.
- Select the menu icon for your new registration.
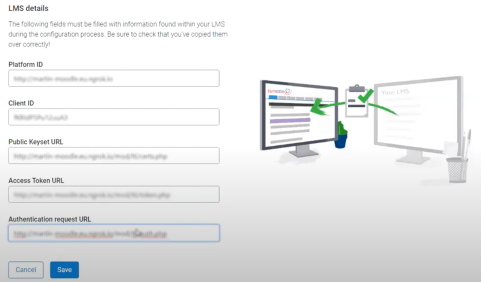
- Data about your registration will appear in a modal box on the screen. Just like copying the information from turnitin.com to Moodle, you will now need to copy this information directly from Moodle into the Turnitin tab you should still have open. Fill in the following fields in Turnitin: Platform ID, Client ID, Public Keyset URL, Access Token URL, and Authentication Request URL.
- Double-check that all of your settings look correct, and then use the Save button to complete your registration. If everything is successful, you'll see a note saying you're 'Nearly there'. The final step is creating a dummy assignment in Moodle to initialize the integration.

When using Moodle 3.9 or below, this option will simply be a checkbox labeled Content-Item Message.
![]()

Step 2 - Create a dummy assignment
Please note that you cannot have multiple Moodle environments connected to a single Turnitin account.
- Navigate to the course you would like to add Turnitin to.
- Turn editing on, and select the Add an activity or resource link.
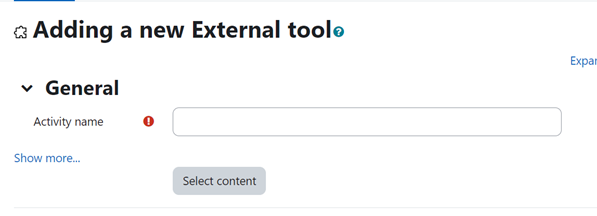
- Select the Turnitin Activity
- Choose Select Content. By choosing this, deep linking is enabled for the assignment.
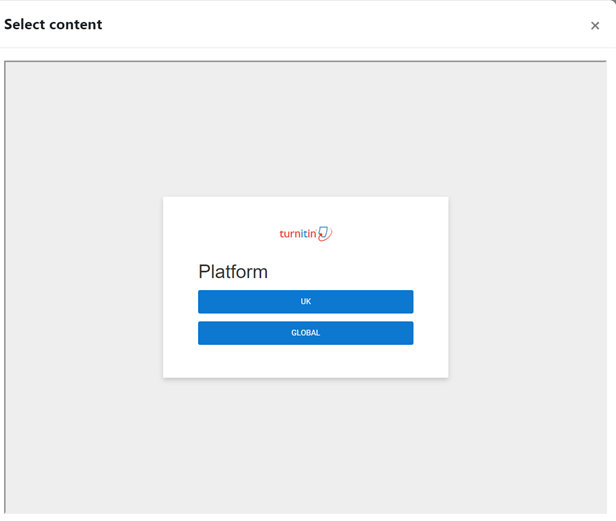
- In the new window, there will be an option to connect your account to Turnitin. Choose Global if you are using Turnitin via turnitin.com, choose UK if you are using Turnitin via turnitinuk.com.
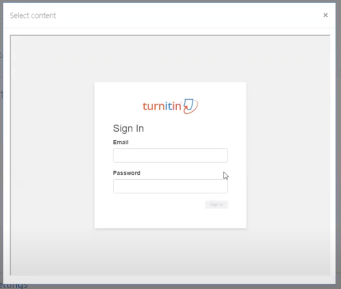
- Enter the email address and password used for the Turnitin account you used to create the registration. We need this to initially authenticate the registration as genuine.
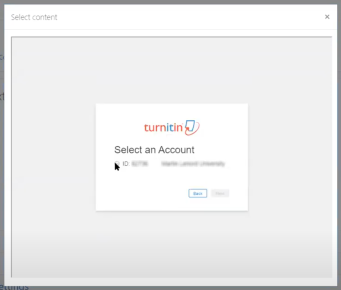
- Select the relevant account for this registration using the radio buttons. Use the Next button to continue.
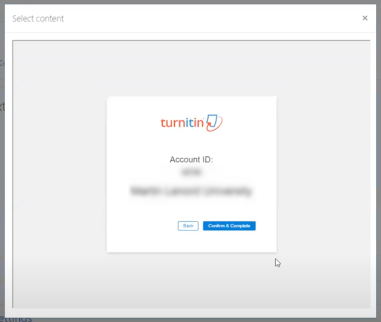
- Review the content on the confirmation screen. If everything looks correct, select the Confirm and Complete button to finish your setup.
- Close the modal box.
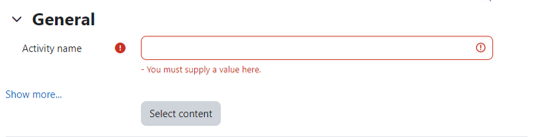
- To confirm that Turnitin is working correctly, click on Select Content again.
- If successful, the LTI assignment will load. Fill out the required information, then select Submit.
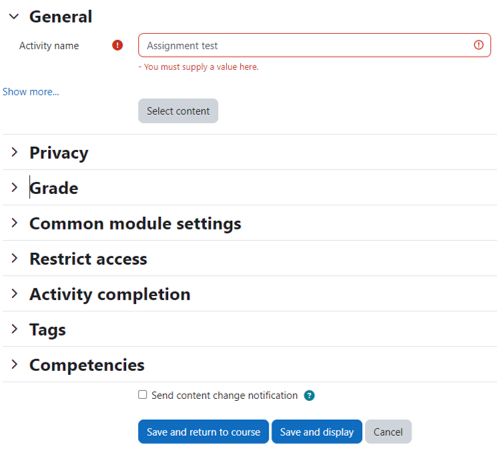
- The assignment name is sent to Moodle from Turnitin. Click Save and return to course.
- You can delete this test assignment if you like.


Was this page helpful?
We're sorry to hear that
Need to contact a human?
Get in touch