- Log in as a Turnitin account administrator at www.turnitin.com or turnitinuk.com
- Click on the integrations button for the account. If purchased the 'Unconfigured' button will appear under the integrations column. If an integration has already been configured click on the 'Configured' button and skip to step 6.
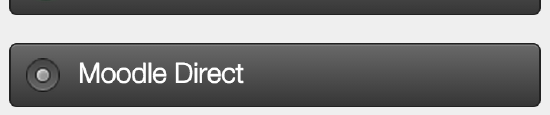
- If the integration has not been configured click on the 'Unconfigured' button.

- Click on Moodle Direct to open up the configuration page. Unconfigured platforms will have an unlit status button. An orange status button indicates a partially configured integration. A green status button indicates a fully configured integration.
Due to Moodle ending security support for versions 3.9, 3.11, and 4.0 on December 11, 2023, Turnitin will end support of our plugins for those versions of Moodle as well. If you are using Moodle 4.0 or earlier, please be sure to update your Moodle version.
A Moodle environment will only support one integration and account/sub-account. If you need to configure multiple Turnitin sub-accounts, you will have to create a Moodle environment for each one.
- Fill out the three required fields:
- create a shared key containing 8 alphanumerical characters
- your institution’s IP Address or default IP address: 255.255.255.255
- an error callback URL or the default url: https://www.turnitin.com/api_error.asp
- Click Save to finalize the Moodle Direct configuration.
- Once the integration has been configured you can download the latest version of the code package by clicking on this link
On this page, you are able to find the supported versions of Moodle we currently support. As a general rule, we support the last four versions of Moodle.
Was this page helpful?
We're sorry to hear that.
