Archiving a QuickMark will remove it from all the QuickMark sets in which it currently resides. The QuickMark archive can be revisited at any time to restore a QuickMark, avoiding any accidental, permanent deletions.
You are only able to archive QuickMarks from custom sets. You are unable to archive individual QuickMarks from Turnitin default sets. However, you are able to add QuickMarks to a new set and hide a set completely.
Archiving QuickMarks | Restoring QuickMarks
Archiving QuickMarks
Archiving a QuickMark will remove it from all sets in the QuickMark Manager.
Access the QuickMark Manager from the Instructor homepage or while viewing a student paper, as detailed in guidance for Accessing the QuickMark Manager.
- Select a set containing the custom mark to archive, then select the mark to be archived.

To select multiple marks, hold cmd (Mac) or ctrl (PC) while you make your selections. Or, to select all the marks in between two marks, select the highest mark in the list you want to remove and then hold shift and select the lowest mark in the list to be removed. All marks in between will be highlighted.
- Select Archive at the bottom right of the QuickMark details.
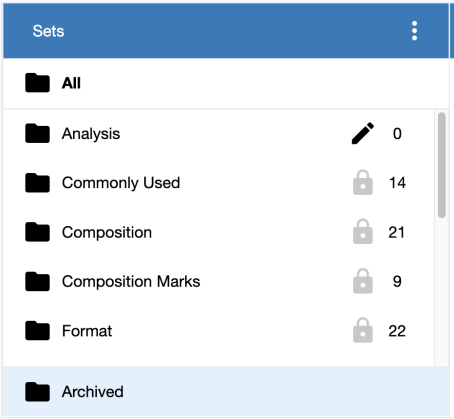
Administrators and instructors may only archive QuickMarks that they own. QuickMark sets with a lock icon to the right of the set name cannot be modified and are provided by Turnitin or the account administrator.
Restoring archived QuickMarks
Select the Archived folder located at the bottom of the Sets panel.
Select the marks to be restored. To restore all the archived marks, choose the Select all link.
Single mark Multiple marks 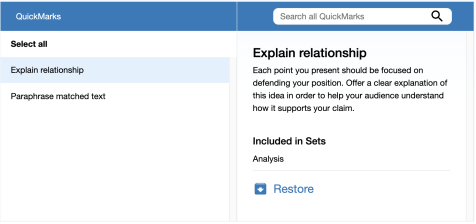

In the rightmost panel, select Restore. The marks will now appear in the same sets as before they were archived.
Was this page helpful?
We're sorry to hear that
If you have the time, we'd love to know how we could improve it.
The guide
