Finding the Turnitin LTI 1.3 Configuration Page
- If you are part of a global institution, log in into your Turnitin account via turnitin.com. Alternatively, log in to turnitinuk.com if you are part of a UK institution.
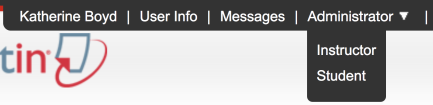
- Ensure that Administrator view is enabled from the drop-down menu at the top of the screen. If Instructor or Student is selected, please change to Administrator.
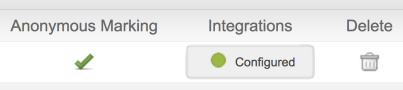
- The Unconfigured or Configured button will appear in the Integrations column on the administrator homepage.
- If an integration has already been configured, select the Configured button and check that all integration details are correct. If you are migrating from another Integration, this button will appear green, but will allow you configure more integrations.
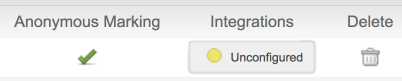
- If you have now configured an integration before, select the Unconfigured button.
- If an integration has already been configured, select the Configured button and check that all integration details are correct. If you are migrating from another Integration, this button will appear green, but will allow you configure more integrations.
- Select the LTI 1.3 button to open the configuration page.
Unconfigured integrations will have an unlit status button. However, LTI 1.3 Integrations will permanently stay as unlit, even after a successful integration.
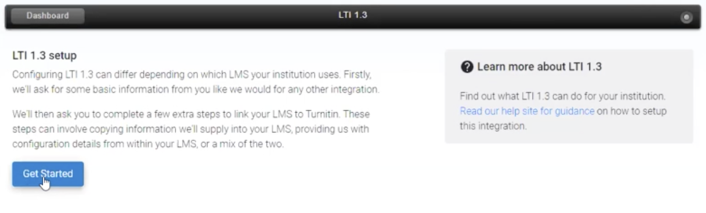
- If this is your first LTI 1.3 registration, review the introduction page to get an idea what you are about to do. When you're ready use the Get Started button to do just that!
- If you already have a pre-existing registration, select the Create new registration button from the registration dashboard.
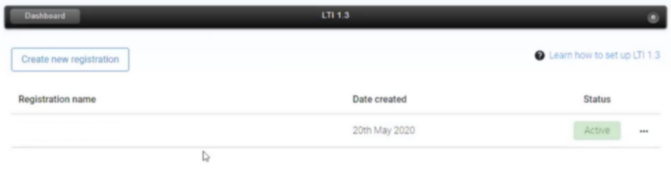
- If you already have a pre-existing registration, select the Create new registration button from the registration dashboard.
- For Canvas Open Source/Self-hosted LTI 1.3 environments (or Canvas Test or Beta environments) select 'Other'.
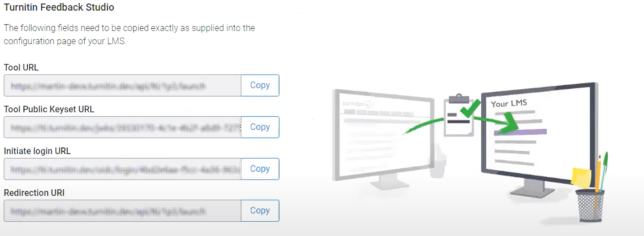
- Based on your selection, the page will autofill with the information that you need to enter into Canvas to complete the integration.
Thank you! Your feedback will help us to improve this guide.
Was this page helpful?
We're sorry to hear that.
