Managing QuickMark sets in the QuickMark Manager
Creating sets
A QuickMark set is a collection of QuickMarks grouped together under a title.
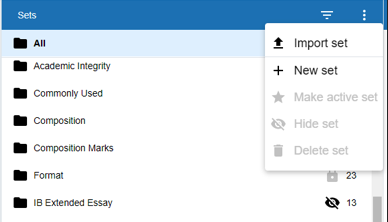
- From the Sets column in the QuickMark Manager, select the three-dots menu at the top right. From the dropdown, select + New set
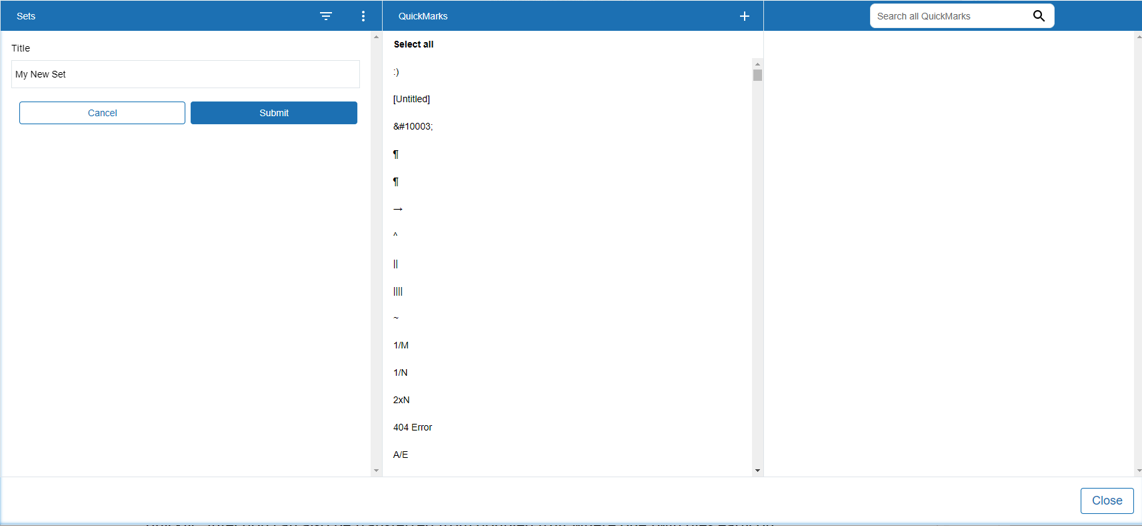
- Enter a title for the QuickMark set in the text box on the left, and then select Submit
Renaming sets
You can rename any QuickMark set you have created.
- From the Sets column in the QuickMark Manager, select the pencil icon beside the set you'd like to rename.
- Use the text area to rename your set, and then select Save
![]()

After selecting the pencil icon, you must make a change to the title before the Save becomes selectable.
Deleting sets
You can only delete QuickMark sets that you have created.
- From the Sets column in the QuickMark manager, select the set you would like to delete.
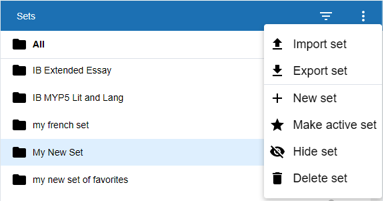
- At the top right, select the three-dots menu and select Delete set.
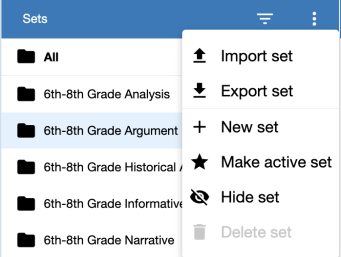
Importing sets
If a QuickMark set has been shared with you, you can import that set in the QuickMark Manager to use when grading submissions. Once a QuickMark set has been imported, you own this set, meaning you can make any desired changes to the QuickMark comments.
- From the Sets column in the QuickMark Manager, select the three-dots menu at the top right. From the dropdown, select Import set.
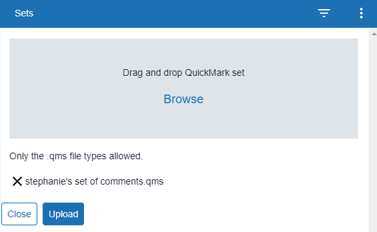
- Drag and drop your QuickMark set file into the Manager or select Browse to locate the .qms file on your device.
- Select Upload
![]()
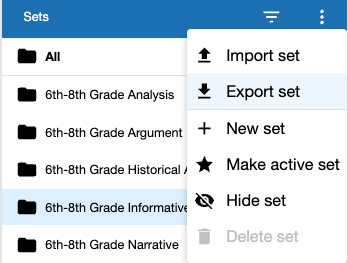
Exporting a set from the QuickMark Manager creates a .qms file that can be shared and uploaded by other instructors.
Exporting sets
Within the QuickMark Manager, you can export QuickMark sets to distribute to other instructors. Once another instructor has imported the QuickMark set, they will then own this set, meaning they can make any desired changes to the QuickMark comments.
- From the Sets column in the QuickMark Manager, select the set you would like to export.
- Select the three-dot menu at the top of the Sets column and select Export set.
- The set will download to your device as a .qms file.
Changing set visibility
Feedback Studio comes packed with premade QuickMark sets that help to make your life easier, however, not every set will be relevant to every instructor. You can hide sets that you don’t want to see, or mark a particular set as active which will make that set your default going forward.
Changing visibility options will change them for every class you have created. Hiding QuickMark sets in this way only removes them from the QuickMark Set list. You can make them visible again at any time.
To change a set's visibility:
- From the Sets column in the QuickMark Manager, select the set you would like to change.
- From the top right of the column, select the three-dot menu. From the dropdown, you can select either:
- Hide set to hide the set when viewed from the QuickMarks side panel, or,
- Make active set to choose that set as your default to use in the QuickMarks side panel.
 An open eye means the QuickMark set is visible.
 An open eye with a line through it means it is hidden.
Selecting one of the icons will switch it to its opposite state.
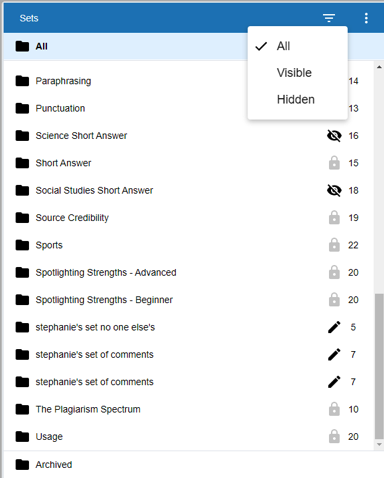
Filtering set visibility
Filtering QuickMark sets allows you to filter the list of sets by All, Active, or Hidden.
- From the Sets column in the QuickMark Manager, select the three-lines filter icon from the top right. From the dropdown, select an option to apply the filter.
- Hidden - Shows all QuickMarks sets you have hidden in the past.
- Visible - Shows all the QuickMark sets you'll currently see in the QuickMark Manager.
- All - Shows every QuickMark set attached on your account.
Was this page helpful?
We're sorry to hear that
Need to contact a human?
Get in touch