Managing QuickMarks in the QuickMark Manager
Creating QuickMarks
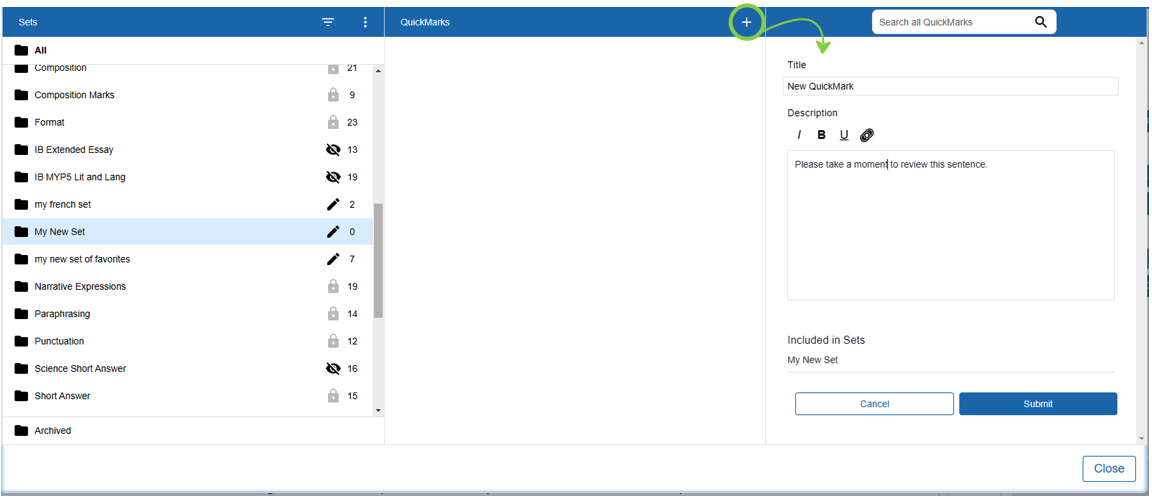
You can create your own QuickMark comments in the QuickMark Manager. This allows you to create class or curriculum specific marks that may not be part of the sets provided by Turnitin or the account administrator.
- From the Sets column in the QuickMark Manager, select the set you would like to add the new QuickMark to.
- From the QuickMarks column header, select the + plus icon.
- From the third column, enter a title and description into the fields provided and select Submit.
Copying QuickMarks to an existing set
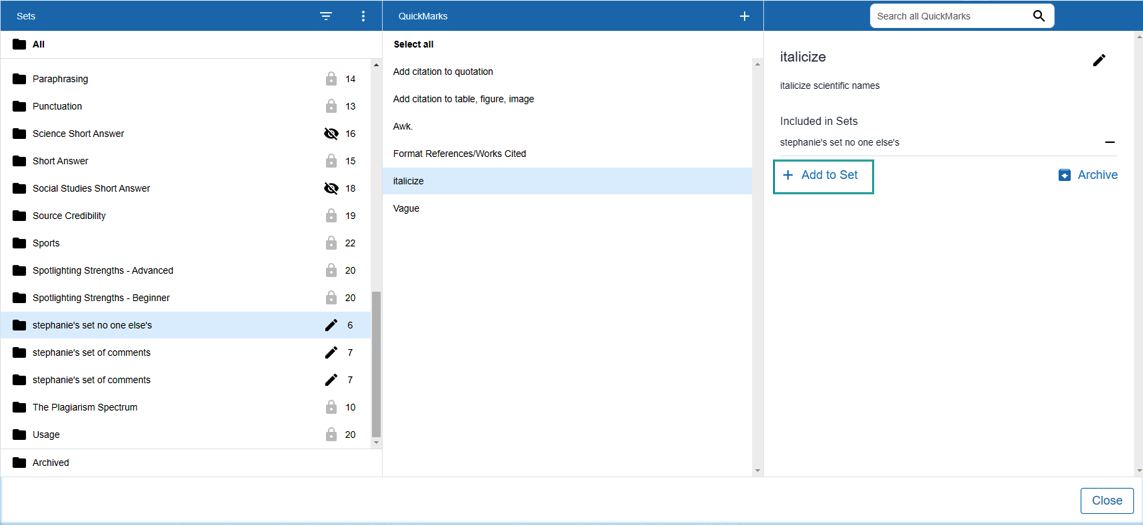
Marks within a QuickMark set can be copied into other sets, allowing you to reuse QuickMarks across multiple situations you may face while grading.
- From the QuickMarks Manager, select the set your QuickMark currently belongs to.
- From the QuickMarks column, select the QuickMark you’d like to copy.
- At the bottom of the third column, select + Add to Set.
Editing QuickMarks
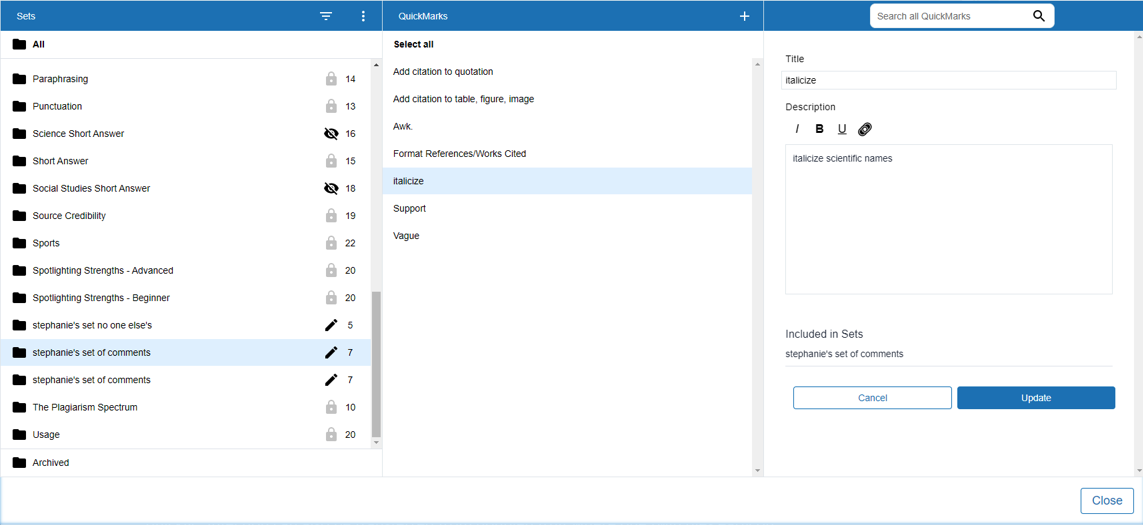
- From the QuickMarks Manager, select the set your QuickMark currently belongs to.
- From the QuickMarks column, select the QuickMark you’d like to edit and select the pencil icon in the third column.
- Enter your changes into the form fields on the right and select Update.
Searching for QuickMarks
To quickly locate a QuickMark, you can perform a search using the QuickMark Manager.
- From the top of the third column in the QuickMarks Manager, select the search input and start typing a search keyword. The QuickMarks column will automatically populate with results based on your search.
- To clear your search, select the X at the right of the search input.
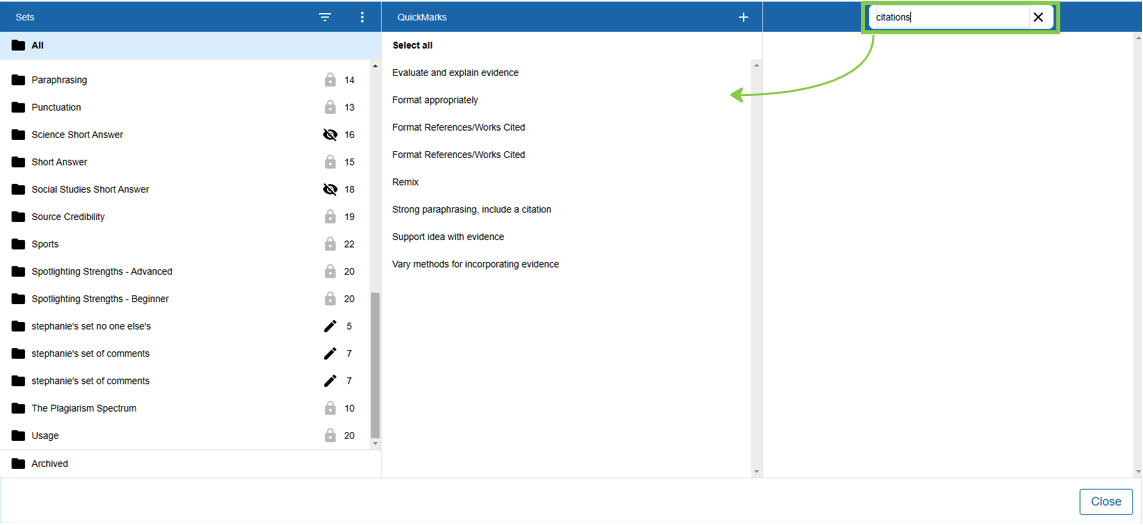
Search results reflect terms from the title and content fields of a QuickMark.
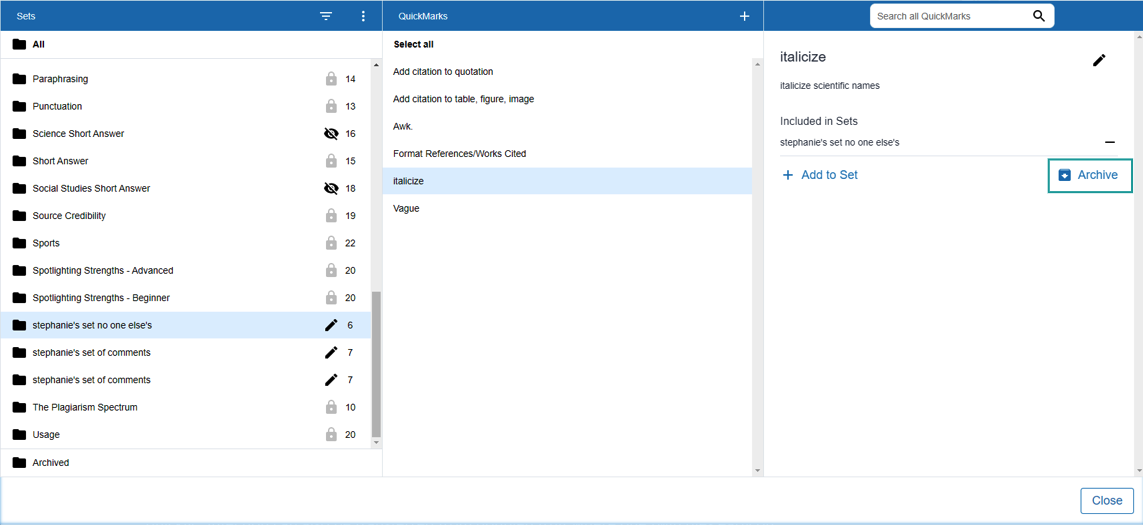
Archiving QuickMarks
By archiving a QuickMark, it appears in the Archived folder at the bottom of the list of sets in the Quickmark Manager. It’s useful to archive QuickMarks you no longer need.
- From the QuickMarks Manager, select the set your QuickMark currently belongs to.
- From the QuickMarks column, select the QuickMark you’d like to remove.
- At the bottom of the third column, select Archive.
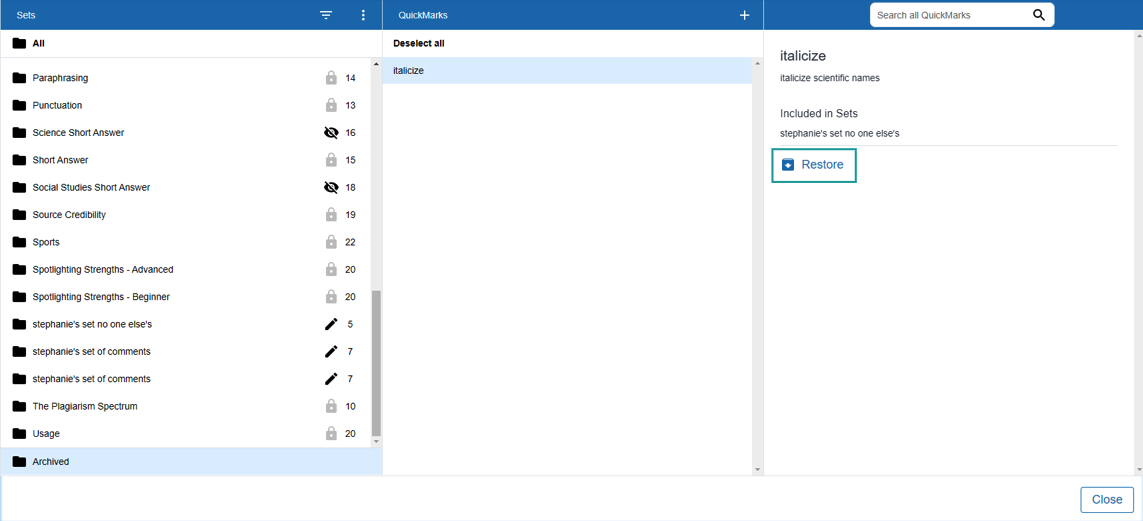
Restoring QuickMarks
After you have archived a QuickMark, you can restore it later if needed.
- From the bottom of the Sets column in the QuickMark Manager, select the Archived folder.
- From the QuickMarks column, select the archived QuickMark you’d like to restore.
- From the third column, select the Restore option.
Was this page helpful?
We're sorry to hear that
Need to contact a human?
Get in touch