LTI Activation
If you are not an existing Turnitin customer, you can request a quote. A representative will contact you within 3 business days. Mention you would like LTI activated on your account when signing up to get started.
Configuring Turnitin LTI in Blackboard
The screenshots in the following guidance may differ slightly from what you see depending on the version of Blackboard you are currently using.
A Blackboard environment will only support one integration and account/sub-account. If you need to configure multiple Turnitin sub-accounts, you will have to create a Blackboard environment for each one.
- To set up Turnitin LTI on Blackboard, first navigate to the Administrator Panel (Admin in the left menu).
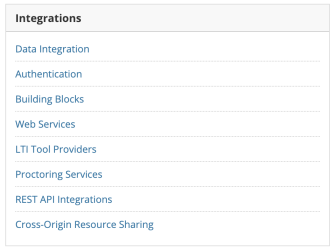
- In the integrations menu, select LTI Tool Providers.
- Select Register Provider Domain.

- In the Provider Domain Status section, fill in the Provider Domain with either:
- api.turnitinuk.com if you are in the UK
- api.turnitin.com if you are anywhere else
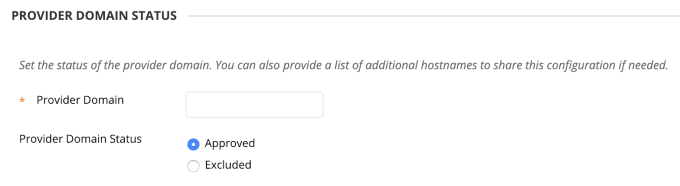
- Set the Provider Domain Status to Approved.
- In the Default configuration section, make sure the Default Configuration setting is set to Set globally.
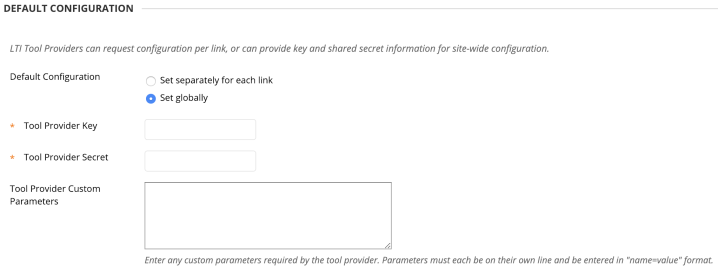
- You need to provide the following Tool Provider information:
- "Tool Provider Key" (you might know this as an Account ID)
This allows an LMS to correctly integrate with a Turnitin account. Account IDs can be found on the left-hand side of the account name on the administrator homepage in Turnitin. - "Tool Provider Secret" (this is the Shared Key configured by the Turnitin administrator in the Turnitin LTI integration setup)
The shared secret key is used to verify the integrity of requests sent from the institution’s LMS account to the institution’s Turnitin account. The shared secret key can be any word or alphanumeric 8-character text string, containing at least one letter and one number. The shared secret key entered in Turnitin must be identical to the shared secret key entered within the LMS. To be clear, both keys must match in order for access to be granted, otherwise, the integration will not work.
- "Tool Provider Key" (you might know this as an Account ID)
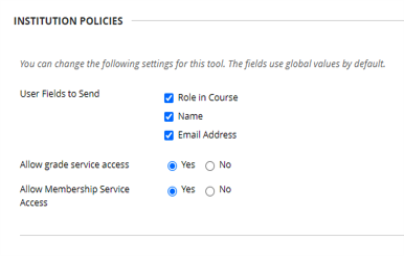
- Under Institution Policies, set the Send User Data setting to Send user data over any connection, select all the User Fields to Send, and make sure that Allow Membership Service Access is set to Yes.
- Select Submit.
- Back on the list of providers, navigate to 'api.turnitin.com' again, and this time select Manage Placement.
- Select Create Placements.
- In the Placement Information section, give your placement a label. This is what will show up in the course. Also assign the placement a handle. This will identify the placement.
- Please make sure Availability is set to Yes.

This is required in order to launch the Turnitin Tool and ensures that the LMS and Turnitin users are mapped properly.
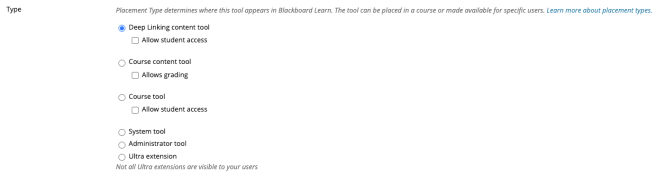
- In the Type section, make sure the Course content tool is selected, with the option Supports deep linking selected beneath it.
- In the Tool Provider Information section, depending on your location enter the Tool Provider URL as:
- https://api.turnitinuk.com/api/lti/1p0/assignment/contentitem for the UK
- https://api.turnitin.com/api/lti/1p0/assignment/contentitem for the rest of the world
- The Tool Provider Key and Tool Provider Secret information will be populated from when you put it in earlier.
- Select Submit.
Was this page helpful?
We're sorry to hear that.
