The QuickMark Manager stores every QuickMark that has been created by you, and also stores any QuickMarks that other instructors have shared with your account. The Turnitin Feedback Studio provides QuickMark sets ready for use when you first create your account. Each set contains a multitude of comments to assist you as you provide student feedback.
You can perform the following actions in the QuickMark Manager:
- create new QuickMark sets;
- create new QuickMarks;
- edit QuickMarks or sets;
- hide or delete sets;
- delete comments from sets;
- upload and download sets; and
- archive QuickMarks.
Instructors can access the QuickMark Manager from the Instructor homepage (within the Libraries tab) or the Turnitin Viewer (via the side panel or student paper).
Instructor homepage | Side panel | Student paper
Accessing QuickMarks from the Instructor homepage
First, select a class from your list or create a new one.
Select the Libraries tab at the top of the page, which will direct you to your assignment library.
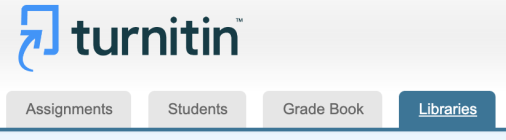
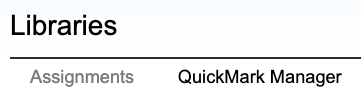
Within the Libraries dashboard, select QuickMark Manager(located to the right of Assignments).
Accessing QuickMarks from the side panel
-
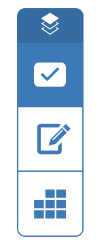
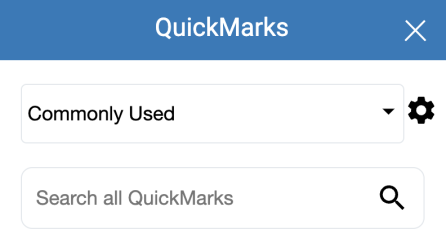
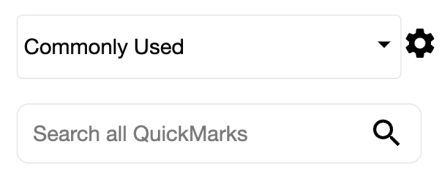
Select the QuickMark icon from the online grading toolbar to open the QuickMarks side panel. This will show the currently active QuickMark set.
-
Select the cog icon from the QuickMarks side panel to open the QuickMark Manager.
Accessing QuickMarks from a student paper
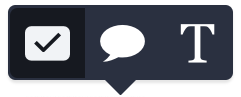
- Click anywhere on the paper to reveal the in-context marking tool. Select the QuickMark icon (first from the left, it is shaped like a tick or checkmark in a box).
- Select the cog icon to open the QuickMark Manager.
Was this page helpful?
We're sorry to hear that
If you have the time, we'd love to know how we could improve it.
The guide
