Filtering account statistics
On your Administrator home page, select Statistics from the side menu.
Administrators have the ability to filter the statistics for their account by five metrics. You can filter the results by Licenses, Data source, Groups, and Users. Once these have been selected, you can further filter the results by Dates.
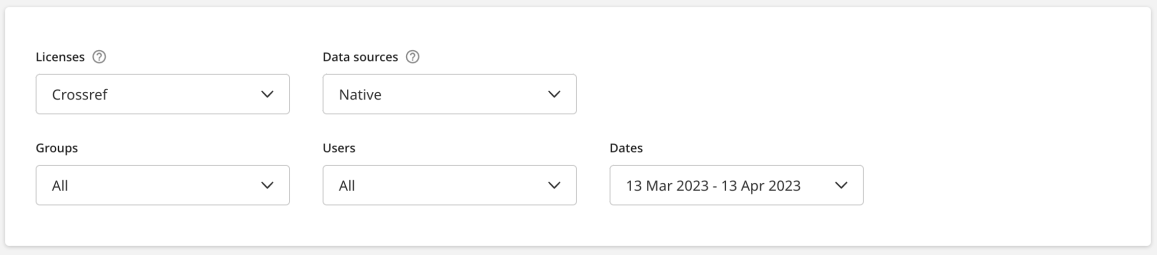
Licenses
Use the Licenses dropdown to select the product you would like to view statistics for. You will only be able to see products your institution has a license for.
Data source
Use the Data source dropdown to select the source of the data you would like to view statistics for. This will be the access path that your users come through to use your account. If you use our services through the web browser, select Native. Any integrations, either API or LTI, that have been created will also be available to be filtered by. Alternatively, you may select All to see both web-based and integration data.
Groups
Use the Groups dropdown to select any groups that have been created in your account that you would like to view statistics for. Groups are collections of users who are able to share files and folders with each other to help facilitate collaboration.
Alternatively, you may select All to see all the users in your account (whether they are in a group or not), or you can select Users not in a group to see the statistics for all the users in your account who have not been added to a group.
If you select a license for a product that does not have groups enabled, then this dropdown will be hidden.
Users
Use the Users dropdown to select which users in your account that you would like to view statistics for. You can select All users at the top of the dropdown. If you have selected a group already, these users will be automatically populated. You can then select further users you would like to see statistics for.
If you select a license for a product that does not have recorded users, then this dropdown will be hidden.
Specifying a date range
Select the currently chosen date range to pick a new one.
Use the calendars to select a date range you would like to view statistics for.
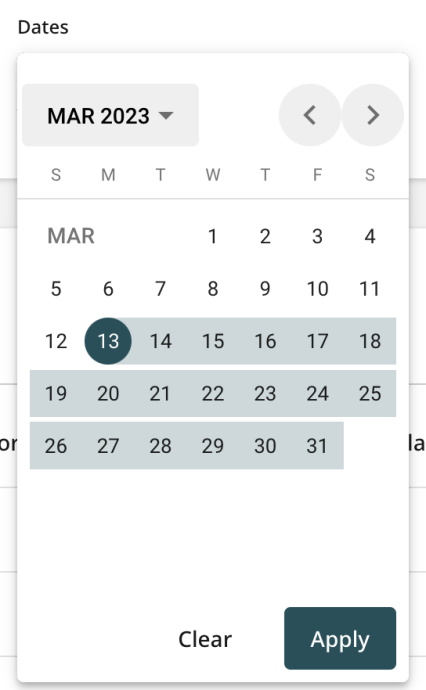
Once you’ve selected the date range you would like to view, select the Apply button to confirm your choice. The data you are viewing will automatically update.
Was this page helpful?
We're sorry to hear that
If you have the time, we'd love to know how we could improve it.
The guide
